Wunderlich Micro Flooter light Page 3


At long last... page 3.  This means I'm actually done with everything on my bike and you're reading the after effects.  Phew...

OK.  Enough lip flappin'.  It's time to get on with the show...

Once I finished installing the BMW accessory plug and plug wire, I immediately moved on to installing the Wunderlich light wiring.  The cable provided is a monster in the sense that it's hard to lug it around.  It has a mind of it's own and has a tendency to wander where it sees fit (e.g. gravity doesn't help).  That's OK though, I'm manly enough and can wrestle the beast to the ground.

First order of business was to install the light on/off switch.  The screw that holds the left mirror and the clutch lever is where the light switch needs to be mounted with.  The position of the light switch is kind of cool.  It makes it really easy to turn the flood lights on and off.  It's an ever so slight reach with the left thumb to activate or deactivate the lights.  When the lights are on, the switch has a small LED that indicates the lights are on.  With a relay involved, you'll never have to worry about running your battery down from leaving the lights on.


I then zip tie the switch cable to the handle bar.  Next I begin routing of the light electrical cable from the handle bar all the way to the air box.  The Wunderlich instructions tells you to get a self taping screw and screw the relay into the air box.  As for me, I'm thinking ... I don't think so.  Punching a hole in the air box is something I don't care to embrace.  Lucky for me (Mr. 3M double sided  mounting tape guy) I used what is left of my 3M 5 LBS all weather mounting tape to attach the relay to the air box.  This can be equated to "DUCK IT!" but I think it's ten times better.  BTW, you can never have enough of the double sided mounting tape.  I recommend having some handy around the house.  You'd be amazed at what and where you can use it ... and no... I don't work for 3M.


Here are a couple of glimpses of the relay with ultra sticky 3M double sided mounting tape ... YEAH!

Next I route the brown and red power cables towards the battery.  Brown (-), red (+). The red cable has the little black 15A fuse box.


Brown (-), red (+).

I then splice the black wire, coming out of the lead for the power on/off switch, with the red BMW Accessory Plug wire.  The instructions mentions the red wire, but in reality the red wire is actually a red and white wire.


Now I start fastening (zip tie heaven) the light power cable to the chassis. I basically followed the accessory plug power cable all along the left side of the bike.  Once again, the untrimmed zip ties show you where I fasten the Wunderlich light cable to the bike.  Be careful not to zip tie where the throttle cable runs as you don't want anything to get in the way of the throttle cable and the clutch cable.


At this point I'm almost done with the wiring for the lights.  I start putting the gas tank back on the bike.  I follow the same directions used to remove the tank except in reverse order.

*** WARNING ***  
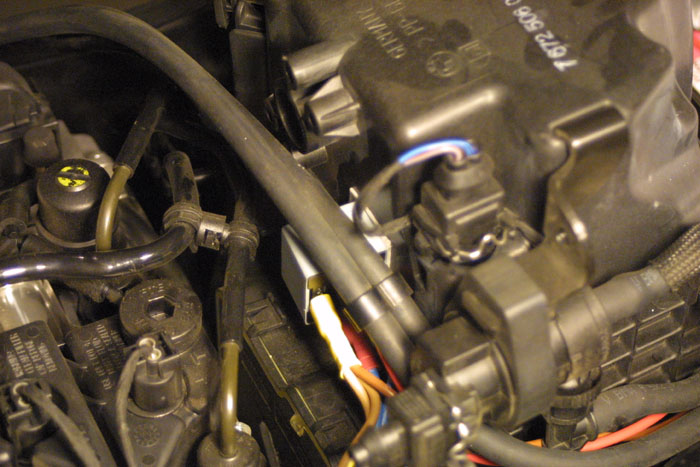
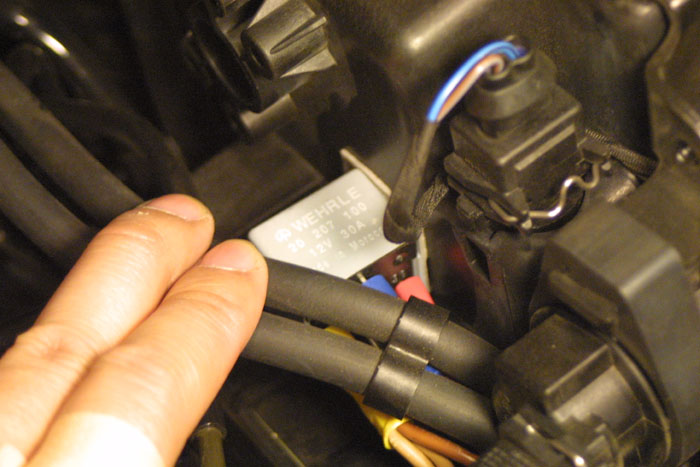
The throttle cable doesn't have a lot of slack to it.  Make sure it's free of obstruction and can move easily when the handle bar is push to its limits towards the left and right.  Also, you'll want to make sure the throttle connector at the engine end is not loose and is solidly attached.  If the cable appears a little loose, push the rubber cover up the throttle cable to expose the throttle cable connector and push the connector into it's housing.  If you hear a click, it's secure and you can push the rubber cover back on.  You will also want to verify this end of the connector didn't come loose once the tank is on and bolted to the chassis.  There's nothing like having your engine rev as you make an extreme turn to the left.  Again, I recommend you double, triple, if not quadruple check to make sure the throttle cable is free of obstructions when the tank is back on.


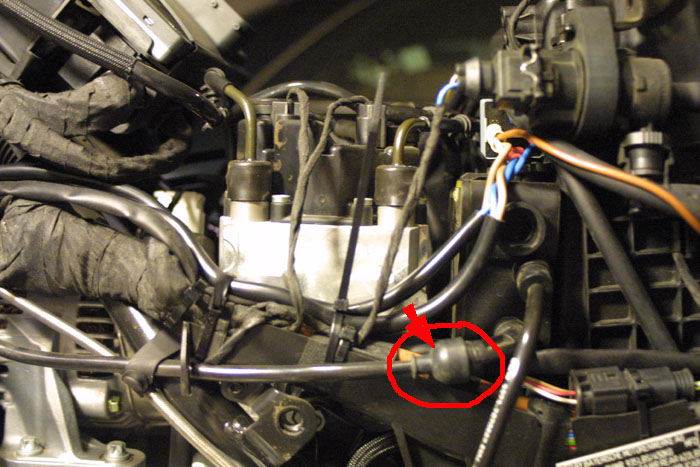
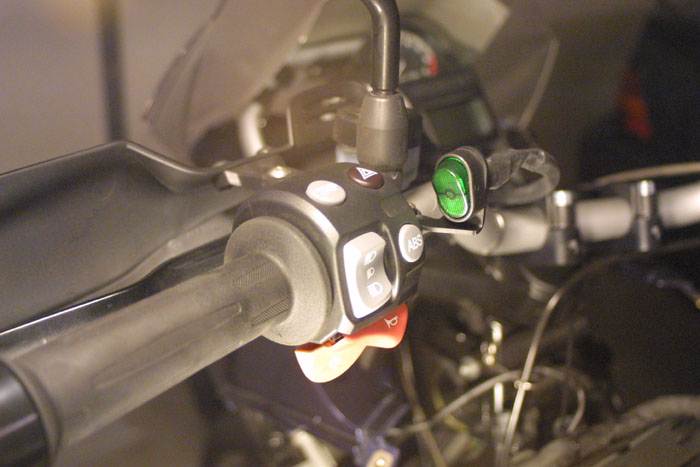
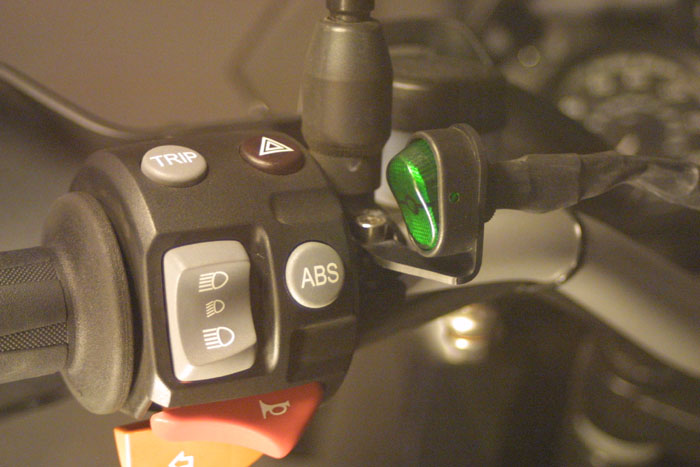
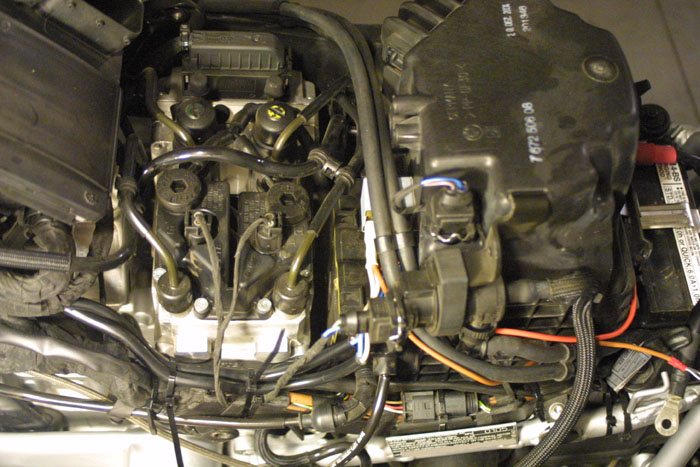
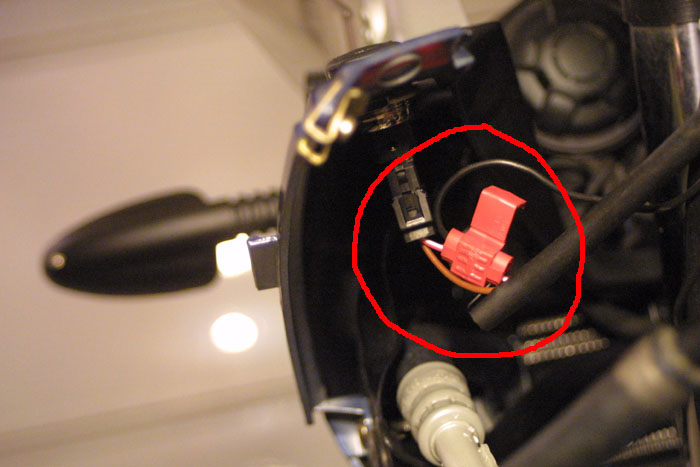
Throttle cable, connector housing/cover, and connector.
Did I mention that you should check this when the tank is back on?

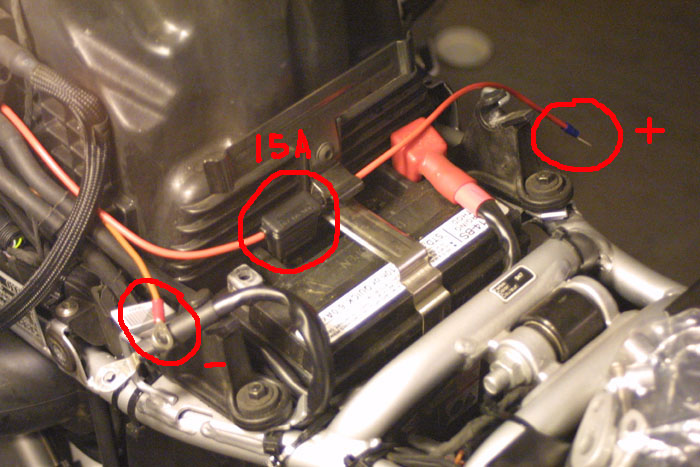
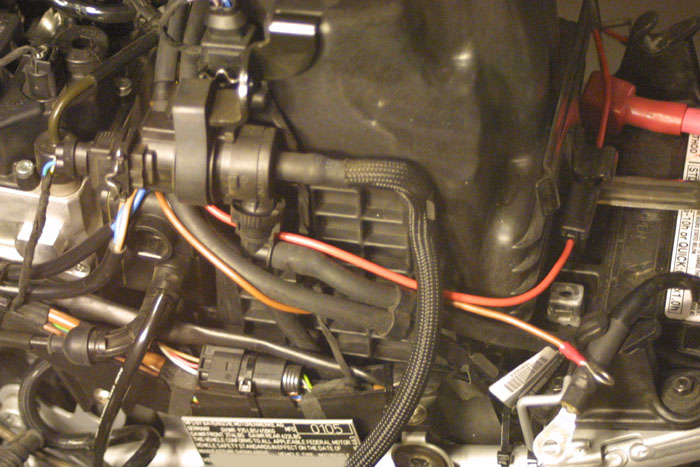
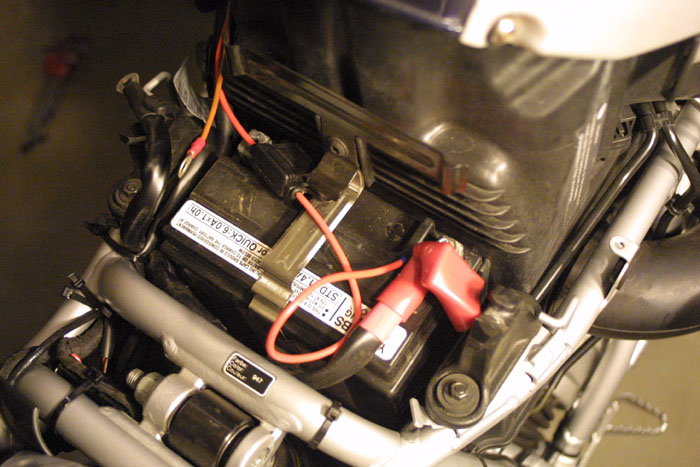
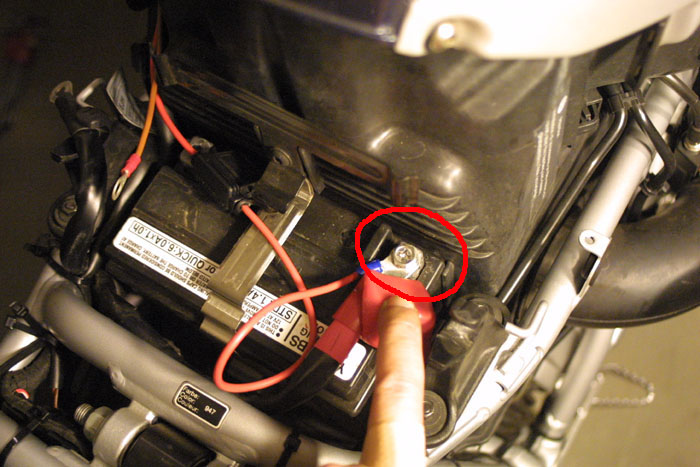
Now it is time to connect all electrical wires, but before I connect the negative terminal wire, I connect red light lead wire to the positive terminal on the battery.


Once the positive power lead is secure, I put the red positive lead cover back over the lead and then proceed to connect the negative terminal.  Before you put all the panels, fairings, and seats back on, you will want to start up the bike to make sure it's operating correctly.  Give it a couple of revs for good measure.  Again, this is a good time to check and make sure the throttle cable is happy by turning the handle bar to the maximum left and right.  If you hear revving without you rolling the throttle, you've got a problem with the throttle cable and should pull the gas tank and make sure the throttle cable is properly connected and clear of obstructions.  Don't leave the engine running too long as this will heat up the engine and you'll have to wait for it to cool down before pulling the gas tank ... again.

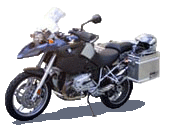
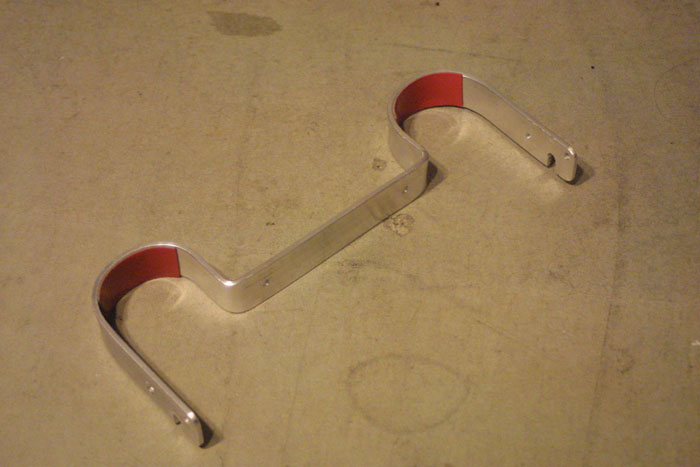
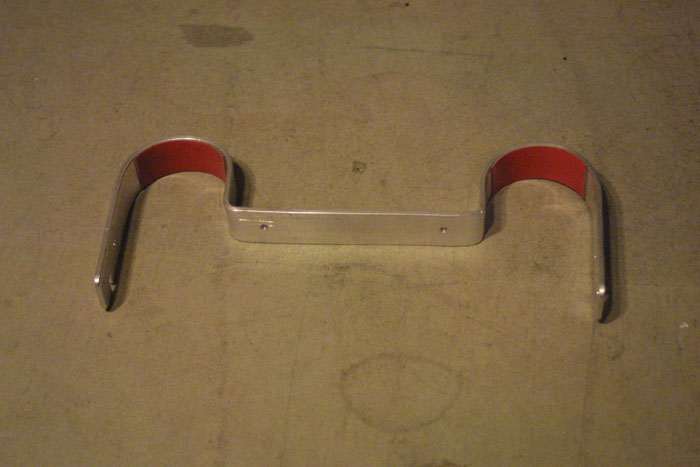
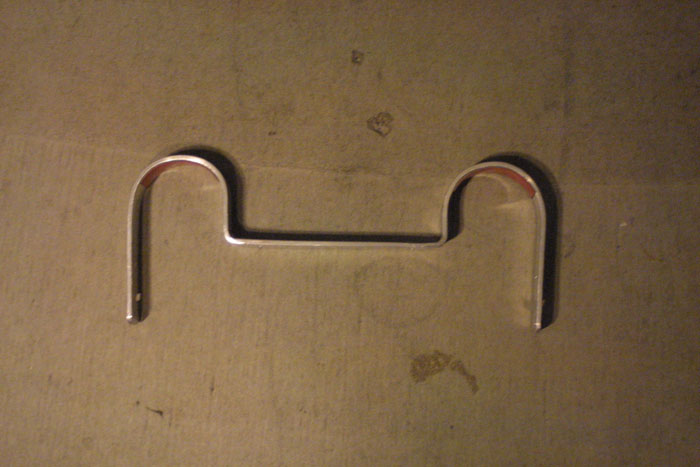
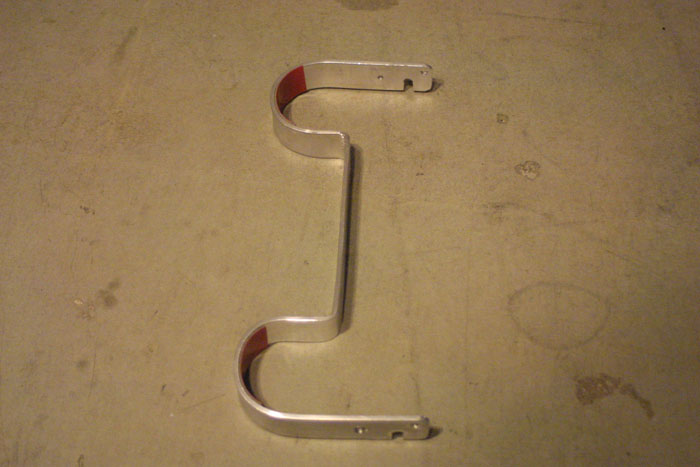
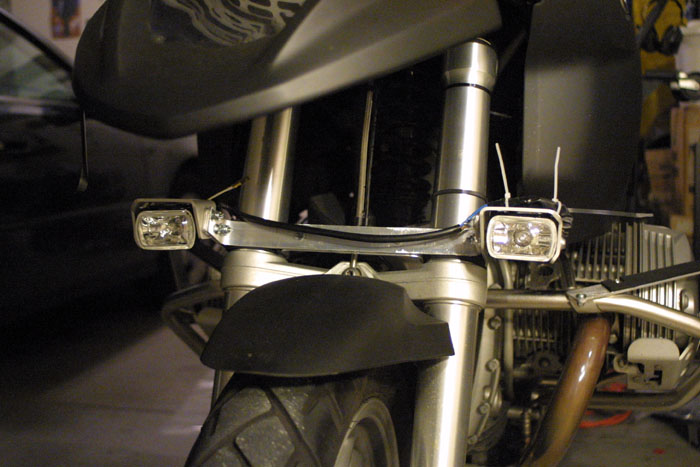
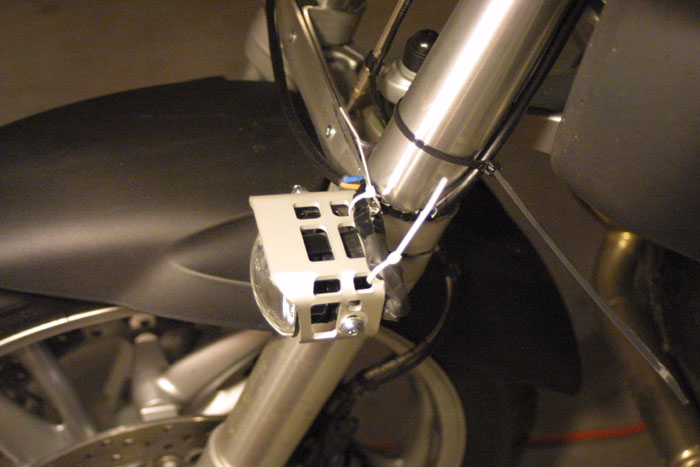
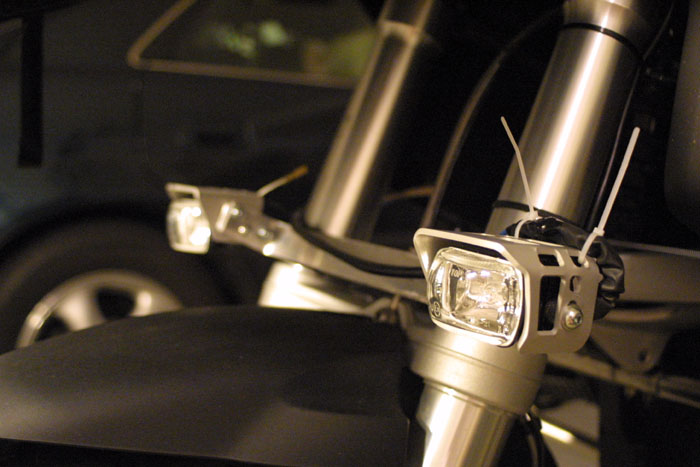
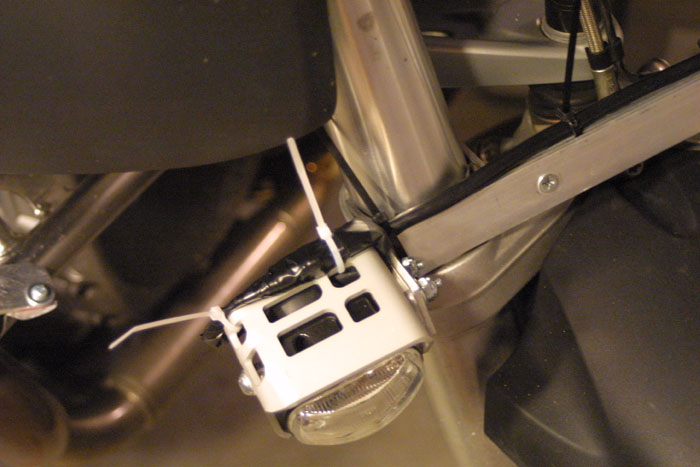
I made a decision a while back to NOT mount the light where the Wunderlich instructions has specified.  I resolved to mount the light on the front forks.  In this way I have light wherever I turn the bike.  In order to mount these lights on the fork I had to fabricate a light mount for the forks.  Here is what I came up with.  The red pieces in the mounting bracket are (once again), the 3M double sided mounting tape.  What can I say, I love that stuff.  At this point I still need to fabricate a second part to this bracket in order to complete the mounting process.


My custom made front fork light bracket.

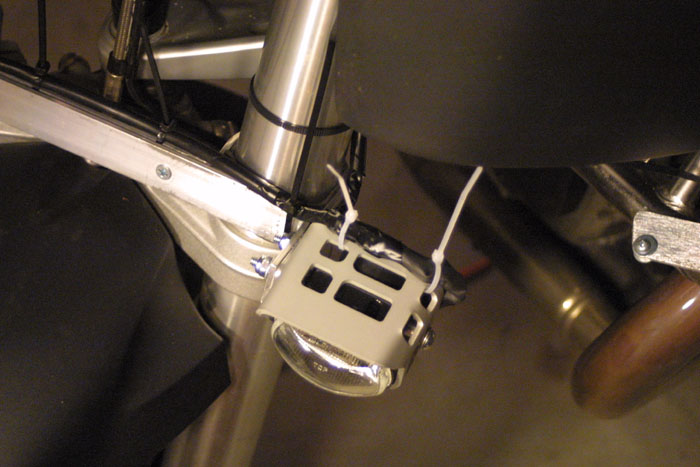
For me there are two reasons to mount the light in this way: 1) I like the light to follow me when I turn the bike, 2) I have a Touratech lexan light protector that is using the turn signal light mount as a means to hold the protector on.  Installing the Wunderlich lights exactly where they had specified would mean messing around with both the signal lights and the light protector.  Way too much work if you ask me.  That's why I decided to mount the flood lights on the forks.

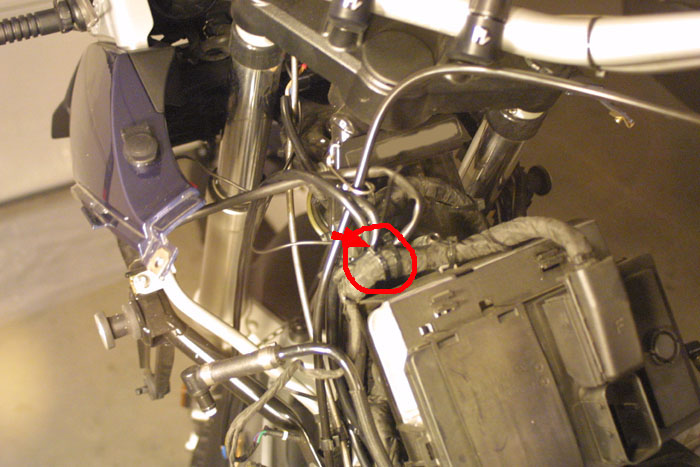
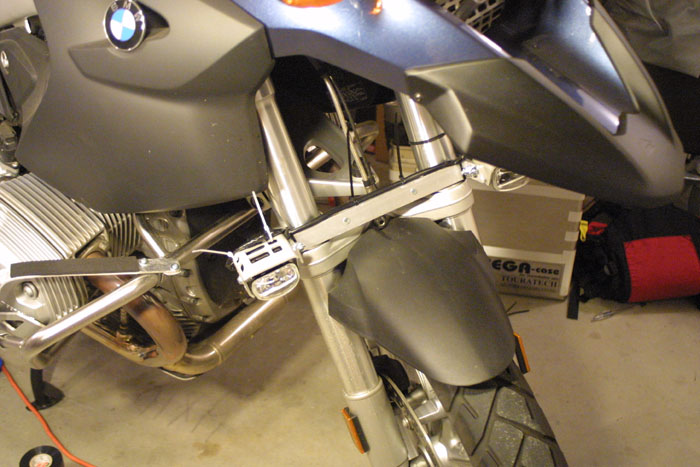
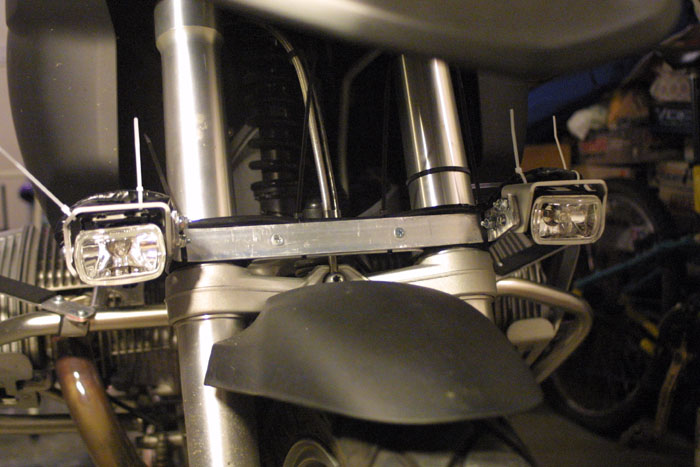
Here are some shots of the lights power leads coming down the front forks.


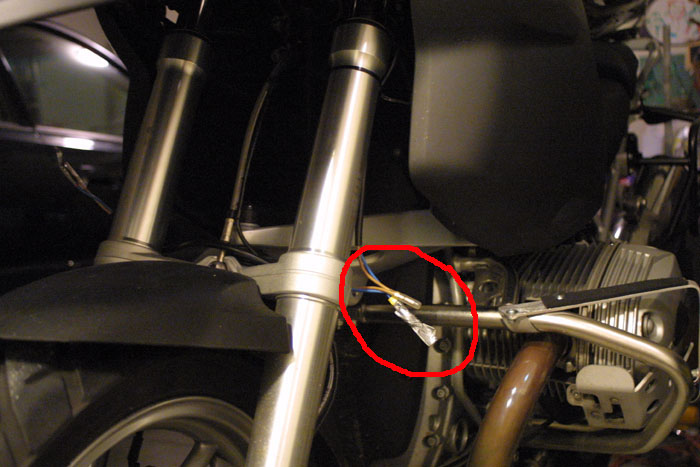
I had put duct tape on the leads thinking I was going to ride my bike to work the next day with the
leads dangling.  I'm glad I decided not to ride.

The next day I fabricated the remaining part for the light mounting bracket and mounted the bracket onto the forks.


The wiring is not completely done that's why you see the sag of the wire at the center.

The cool deal is when the handle bars are push to it's extreme left and right, the light are free of obstructions.


Turn max right


Turn max left.

The idea behind the light bracket is for it to really just sit on the forks without too much squeezing of the forks by the bracket.  I was particularly concerned about deforming the inverted forks by applying too much pressure.  The key aspect of keeping this light bracket on the fork was the use of the 3M double sticky tape.  The second (front) mounting piece provided a little friction to keep the bracket in place but not enough friction that it would deform the fork and disrupt the movement of the fork.  I also placed foam strips next to the fork before putting the mounting bracket in place.  This will prevent any scratches from forming on the forks, and add a level of friction to the scheme of things.

Wunderlich provided some shrink tube to cover up the leads once they're in place.  I opted not to use the shrink tube since I don't believe in holding a match or lighter under my electrical wire.  Instead, I use electrical tape to cover all leads once they have been assembled.

All done... except for the trimming of the zip ties.


For those that wonder how bright these lights are, they are extremely bright.  The initial ride I did with these light has all of the dark regions, between the front tire and where the low beam is the strongest, is all filled in with light.  If you've ever driven a car with bright fog lights, you'll know what I'm talking about.  Have a look...


I think you can tell the difference.

The other thing I'm glad to report is the mounting of the lights, on the front fork as opposed to the chassis, doesn't effect the effectiveness of the lights.  I see the forks move up and down in accordance to the terrain but I don't notice any flickering of the light itself.  I really don't even notice that the forks are moving.

For my review of these lights, I give them a 5 out of 5.  They are very effective as auxiliary lights.  As for the instructions, I give Wunderlich a 3 out of 5.  However, with the instruction I have provided for you hopefully it will make your install easier.  From my experience, the majority of the work is in installing the BMW Accessory Plug Kit.  The Wunderlich wiring turned out to be a piece of cake.

Thanks for reading.  Good luck, and be safe out there.


Update [September 6, 2006]

If you have recently received any of the recalls done by BMW for the '05/'06 R1200 GS (e.g. 34 005 06(028), 34 004 06(027), 61 001 05(058)), you will want to run the wiring for the lights in a different manner than what was specified in the original instructions.  Apparently the mechanical relay used by Wunderlich for the lights draws so much current for the newly tuned R12GS auxiliary power that the auxiliary power is being shutdown by the bike computer to prevent any damage.  The results is your light won't work because the relay doesn't stay tripped.  My work around is to install a manual switch that ties into a Centech AP-1 fuse box.  The manual switch is used to trip the relay and enable power for the lights.  It's not automatic nor pretty but at least the lights work again.


Page 1, Page 2


Written on: Dec 23, 2005
Last updated: September 6, 2006