BeadBrakR Tire bead breaking kit.
[ November 24, 2009
]
There are some that use their motorcycle kickstand to break their
tire's bead. I've seen it demonstrated and I know it works.
However, I'm not one for the audacious balancing act that has to be
done
in order to get the tire to release its grasp. Fortunately for me
a company called BestRest
Products
has create a small kit called BeadBrakR
that does just that ... tire bead breaking.
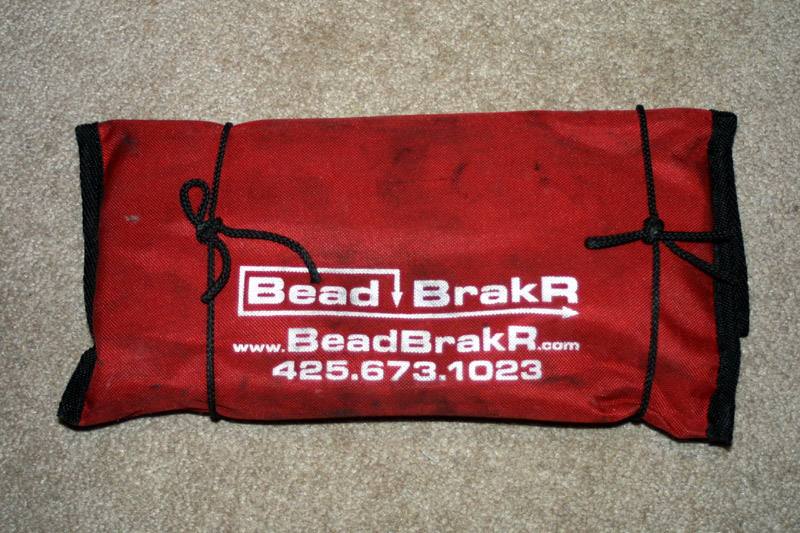
No it doesn't come this dirty. My kit has been used several times.
The
BeadBrakR
is a portable tire bead breaking kit in addition to being a tire
removal
kit (e.g. tire irons). Just make sure to have a patch kit or two
on handy in case you need to fix a flat. The kit comes with quite
a bit of stuff. Depending on whether you care about getting
scratched rims or not, you might not want to use the rim protectors as
they get in the way. For me, I don't care about scratched rims so
I just go tire iron to rim head on.

This kit can use some improvements. The plywood pieces should be
substituted with ABS plastic instead.
The plywood falls apart too easily and quickly.
At first the kit is a bit intimidating, but after reading the
instructions a couple times, everything makes sense. I don't
have a picture of the instructions here, but there is plenty of
information in the kit. It's borderline too much information
even, but it's better to have more info than less info. BTW, the
BestRest BeadGooP is really good, but there's very little of it in the
kit. The squirt bottle is good for about 4-6 tire changes
depending on how liberal you are with it. Save the little bottle
for field use. When you're at home, a spray bottle of soapy water
(e.g. A teaspoon of Dawn in three cups of water) works just as
well. It's also a lot cheaper.
I purchased my titanium BeadBrakR
kit from AEROstich.com.
The
titanium kit as a bit more expensive, but the titanium makes the kit a
little lighter and can withstand more abuse. The titanium kit
cost around $240-$250. If you can't find it at AEROstich, look for it at BestRest Products.
[ Assembling the
BeadBrakR ]
Just on the off chance that someone out there has a bit of a problem
following the BeadBrakR kit instructions, I've assembled the steps for
putting the kit together, but before I get into showing how the
BeadBrakR is assembled, let me
at least mention that the BeadBrakR is only needed on the rear tire for
the F800GS and
thumper F650GS. Simply standing on a deflated 21" or 19" front
tire will break it's bead. I weigh 160 lbs.
OK. Here we go...
Base
assembly:
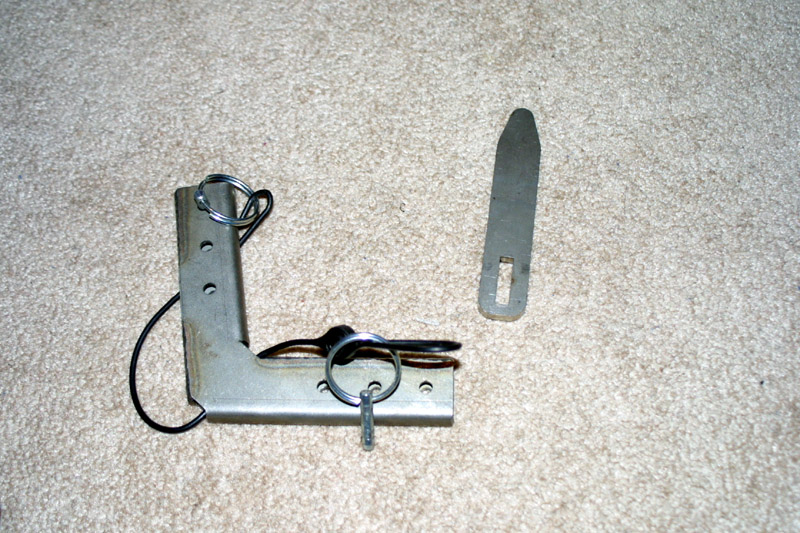
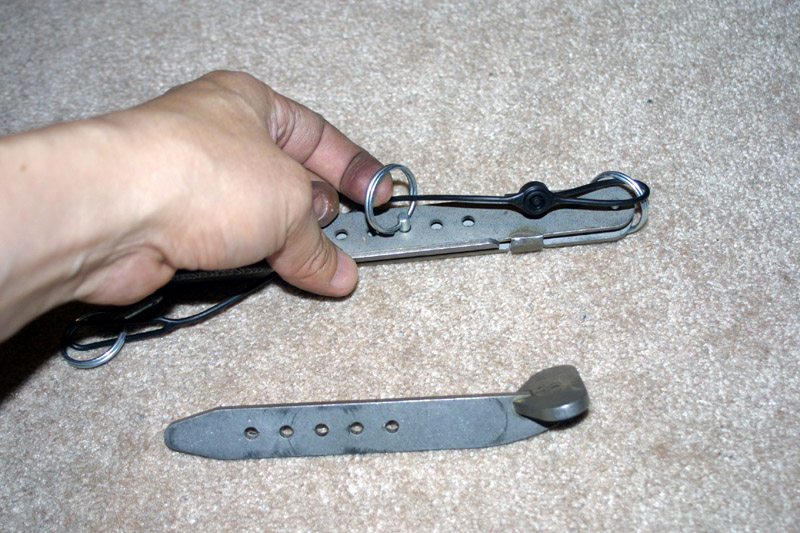
Start with the angled piece in the kit.
Pull the pin that holds the tire chuck and take the chuck out.

Use one of the tire irons to start the base assembly.

Make sure to slide in the straight end of the tire iron. The
curved end probably won't fit anyway.
It's your choice which hole you install the retaining pin. In
this demonstration I use the default location.

Also slide the tire chuck on to the tire iron. Note the location
of the tire chuck.
Leave it towards the entrance end until you have the tire sitting on
the BeadBrakR.

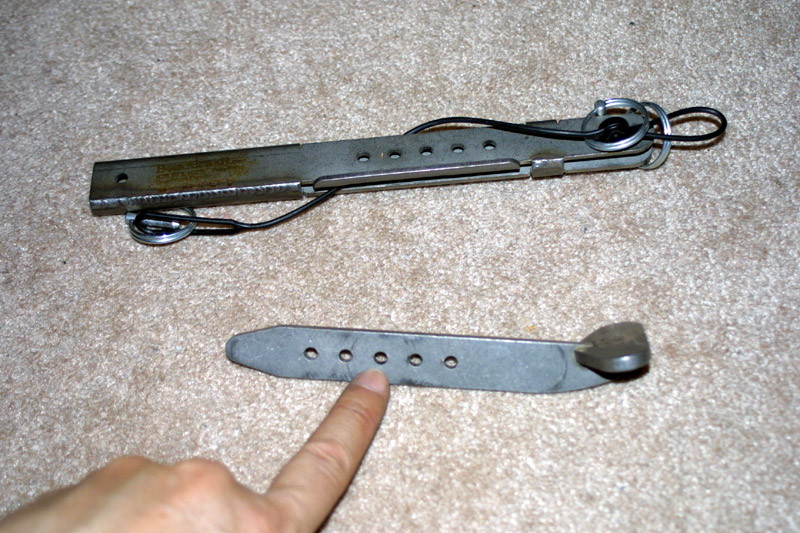
Remove the retaining pin to install the second tire iron.
Again, straight end of the tire iron into the BeadBrakR angled piece.

Depending on the width of your tire, you might want to select the lower
hole or the middle hole.

It should look something like this, but we're not done yet.
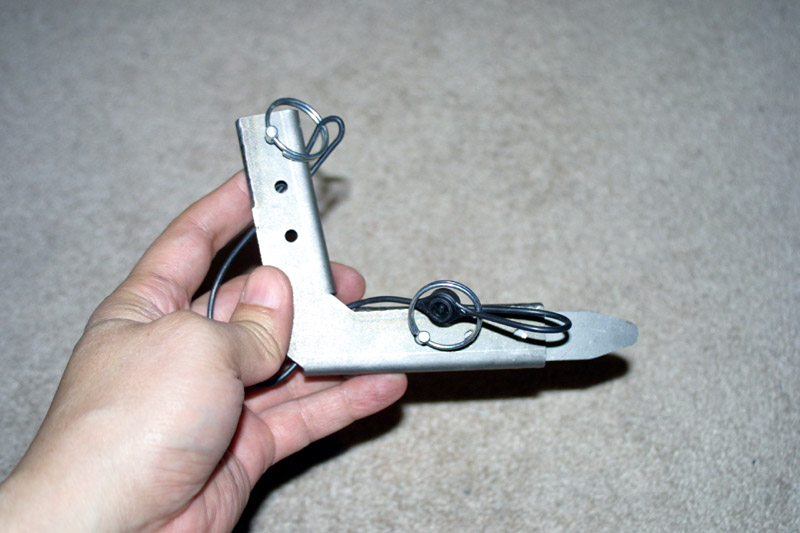
Now install the wood base that allows the BeadBrakR to stand upright.
BeadBrakR base assembly complete. Note the base is in front of
the tire chuck.
Lever
assembly:
There is a reason why I broke the instructions into two sections.
That's because there are two components to the BeadBrakR: the
base, and the bead braking lever. Recognizing these two distinct
components will reduce confusion when using the BeadBrakR.

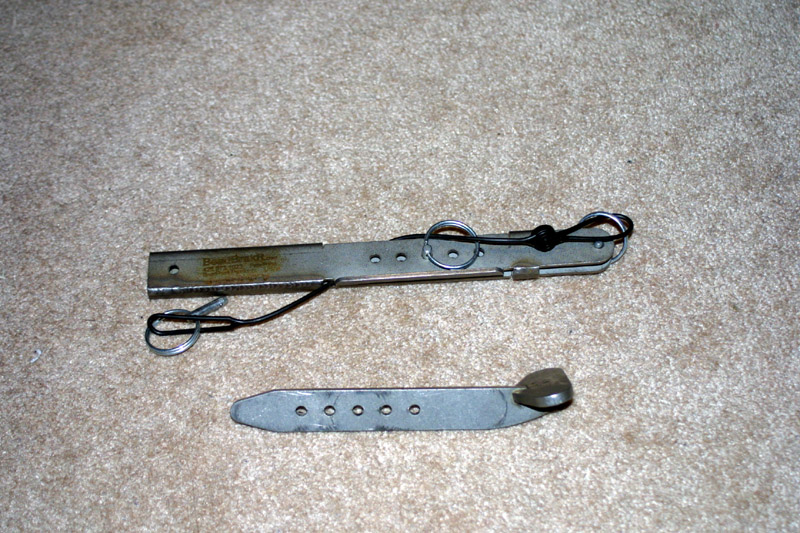
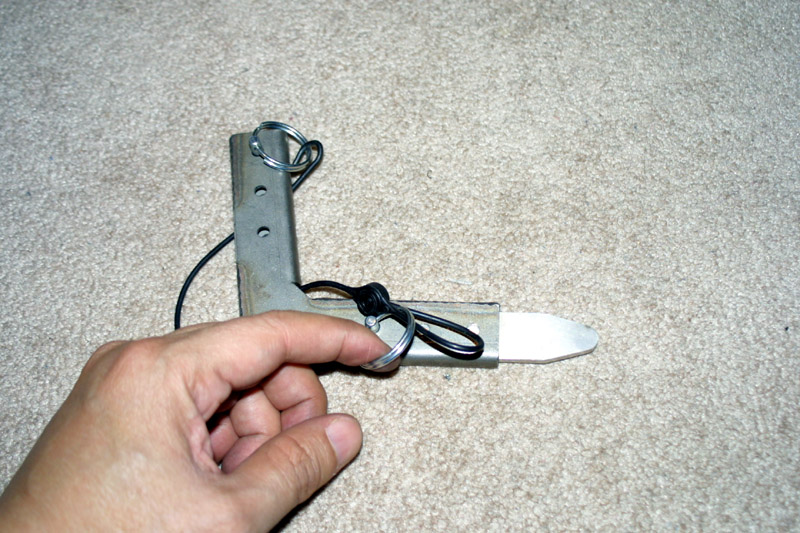
We start by removing the bead breaking shaft from the assembly.
This is how it looks when it's all tucked away.
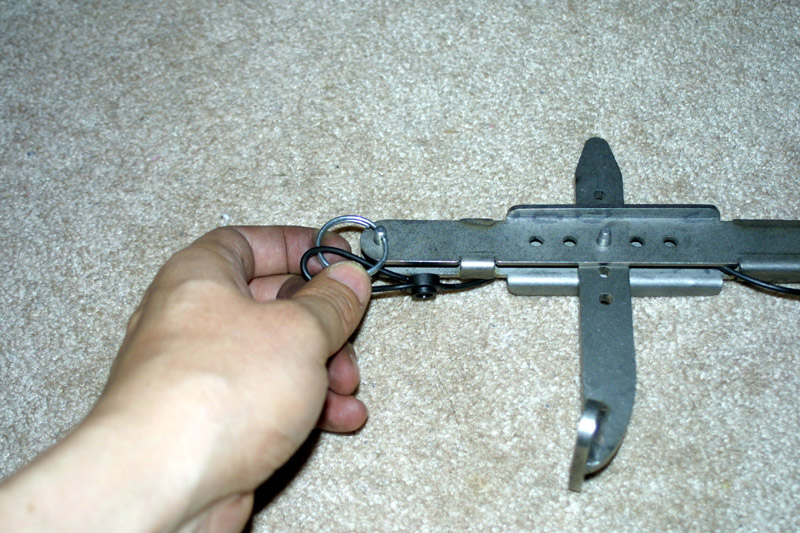
Remove the retaining pin used for the shaft.
For this demo I'm using the default 3rd hole on the shaft.
You will need to select the appropriate hole depending on your rim
width and tire width.

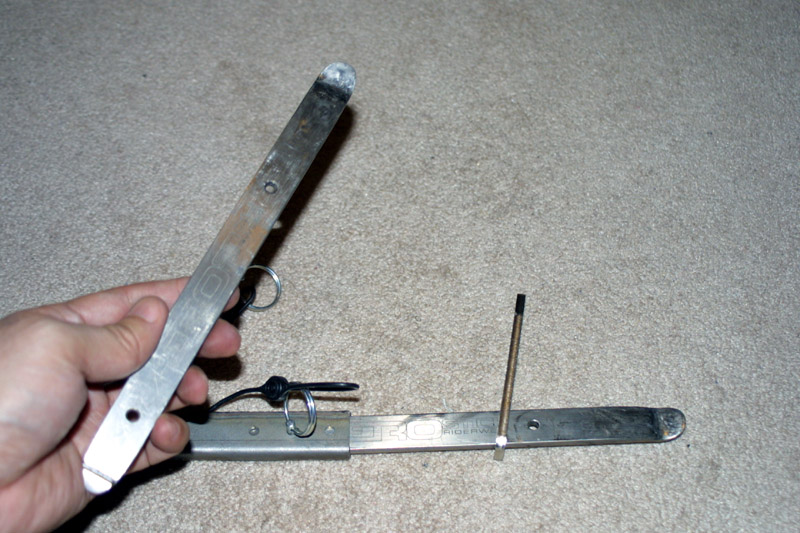
Slide the shaft into the lever and insert the retaining pin.
You will need to adjust the location of the shaft depending on your
tire's geometry.
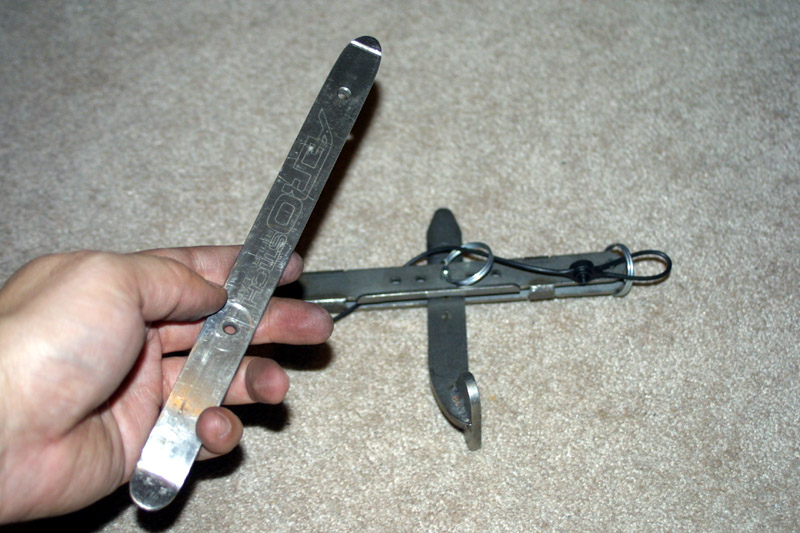
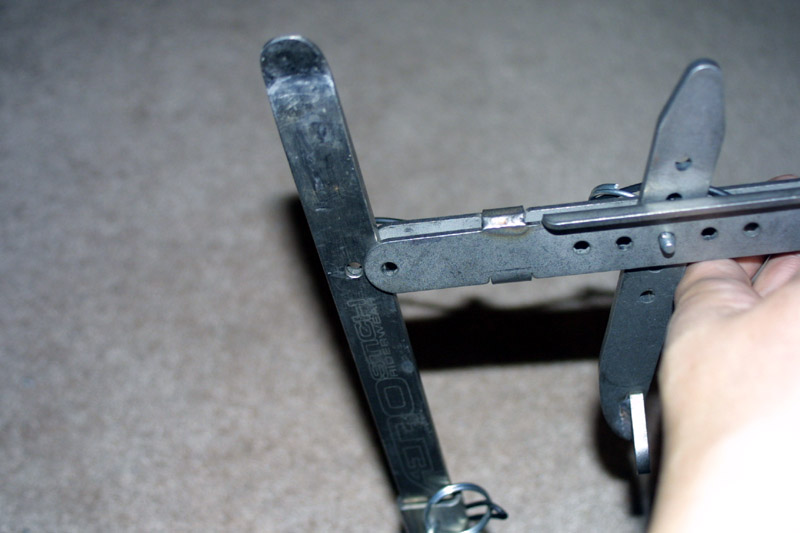
Now install the third and last tire iron as the handle for the lever
assembly.
The entire bead breaking lever assembly should look like this.
Complete
assembly:
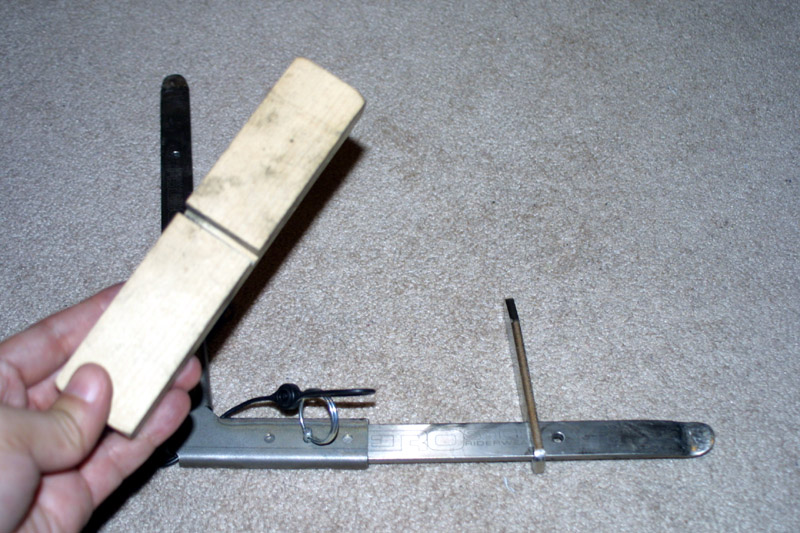
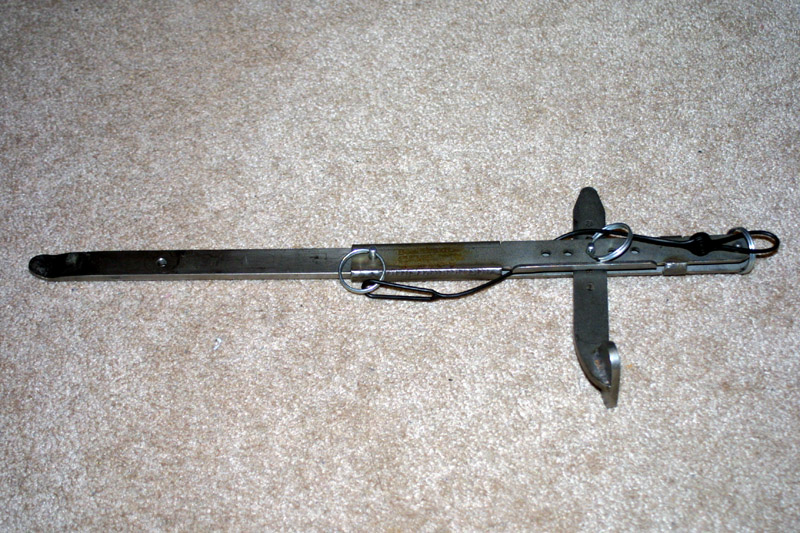
Pull the retaining pin used to attach the lever assembly to the base
assembly.
Attach the lever to the base.
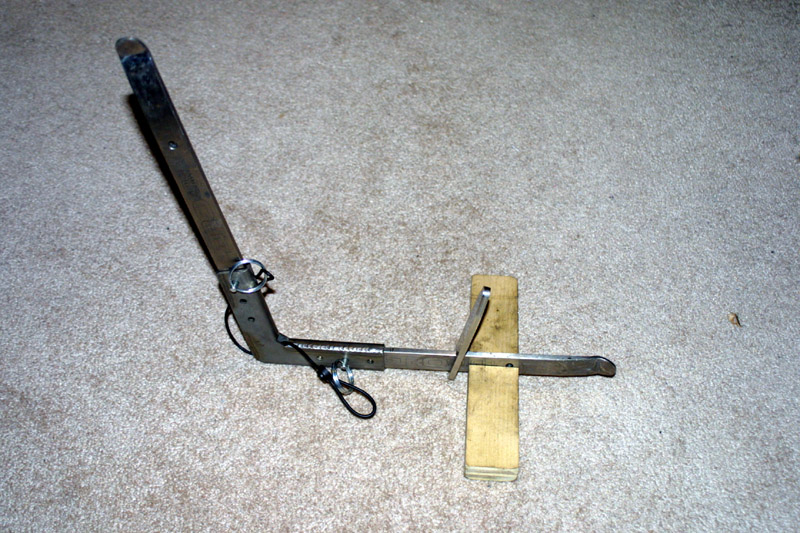
Please note the bead breaking shaft is installed backwards in this
image. It should be flipped in the other direction.

The entire completed assembly looks like this.
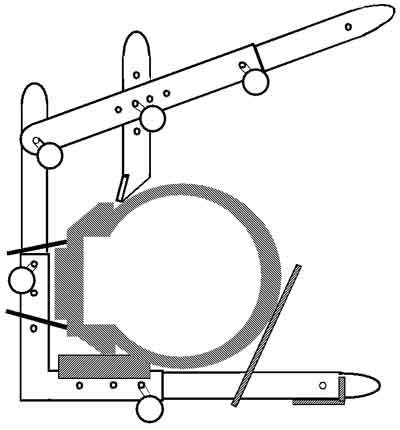
The image above shows where the rim
and tire fits into the assembly.

And this is how it all looks when everything is together. Missing
the wheel of course.
Summary:
It normally takes several attempts, in multiple locations of the tire,
to break the bead of a rear tire. Don't get frustrated if the
bead doesn't break immediately. Just take your time and
relax. It will all happen soon enough. BTW, every time you
rotate the wheel to a different location, to either soften the bead or
break the
bead, you have to remove and reattach the lever assembly.
Unfortunately I didn't take pictures of the last several tire changes
I've done so I can't show the BeadBrakR and the Marc Parnes portable
wheel balancer in action. I will make it a point to take
pictures
the next time there is a tire change.
For me the BeadBrakR has more than paid for itself. I'm able to
perform tire changes and fix flats with little effort. The boon
is it doesn't take
up a lot of space in the garage. Definitely a 5 out of 5 for this
product. It's a must have when traveling long distances
regardless of whether the bike has tubed or tubeless tires.
Written on: November 24, 2009
Last modified: November 30, 2009