How did I ever live without this?


I don't know about other people out there but I had a lot of electrical problems with my accessories after the three recall services (34 005 06(028), 34 004 06(027), 61 001 05(058)) I received from the BMW dealer.  Yes the bike runs fine, without a problem to be exact, but the accessories power is no longer functioning like it did before the recall.  Oh well.  I have to re-run the power for the accessories some how.

Anyway, one day while at the BMW dealer in Pomona having a new set of shoes (Micheline Anakees) and the rear break pad replaced for Mt. Moto, I was talking to Kris, the sales person that sold me both the F650GS and the R1200GS, about my bike.  I mentioned to him about the flakiness of the auxiliary power for the accessories and he mentioned that I should use a fuse box to make my life easier.  Not only that, I could put one power switch for the entire fuse box so I could easily turn all accessories on and off.  I have seen such fuse boxes on various web sites but remember the fuse box on the A&S BMW Motorcycles web site the best.  I took up Kris' recommendation and looked for a fuse box on the A&S site.  Sure enough, there it is.  The Centech AP-1 fuse box.


It looks clean and easy to install.  It also has a fancy stainless steel cover on it to boot.  $50 to make my life easier, sold!

As usual, A&S is fast.  After a weeks worth of time, the AP-1 is at my door step.  The contraption is comes with instructions but it in itself is very self explanatory to configure.  The real question is, where do I mount it.  Of course, the tools bag hold, where my Baehr Ultima XL is installed is a perfect place for it.  Once again I cleaned out the tool bag tray and prepped it for the installation of the AP-1.  4 screws later it's in place.


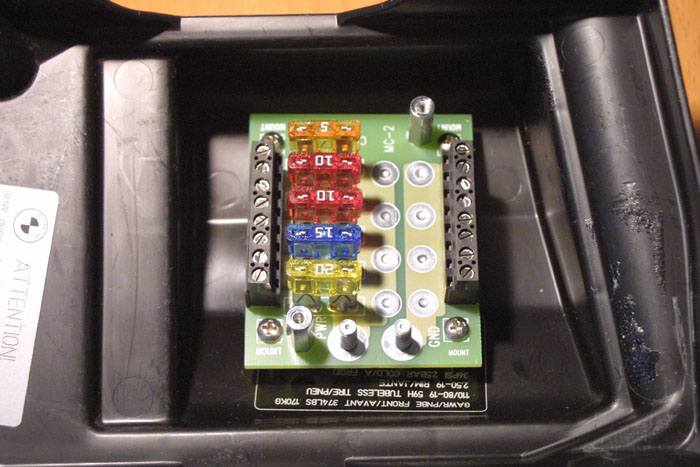
The two screws at the bottom center of the circuit board is the power and ground connectors (left to right).
The side with the fuses (left side) is the power (+) and the right side is the ground (-)


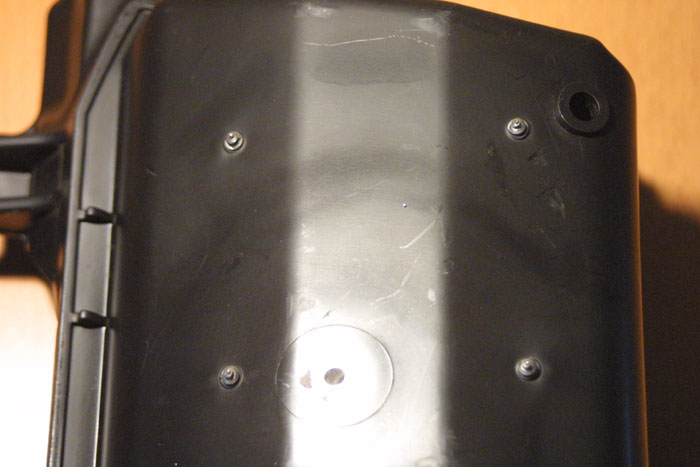
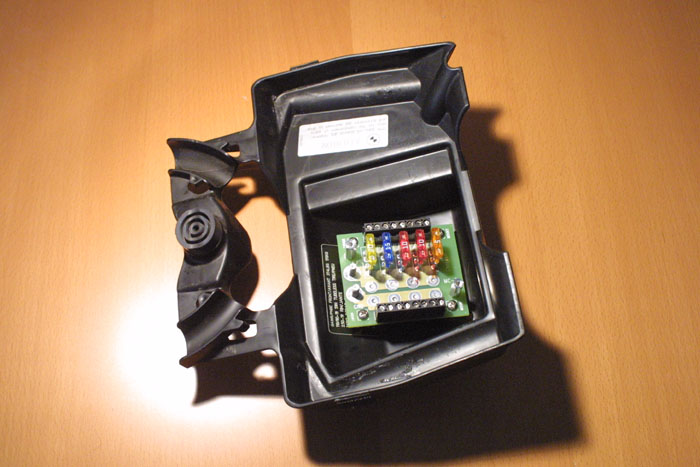
The bottom of the tool tray with the 4 screw showing through.
You can put silicone sealant to water proof the 4 holes.


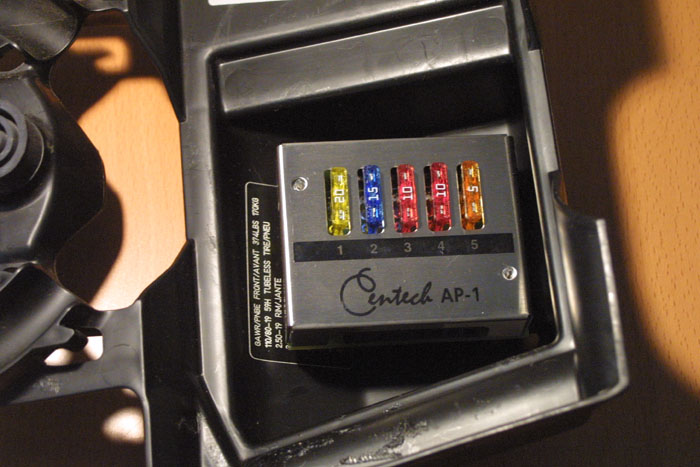
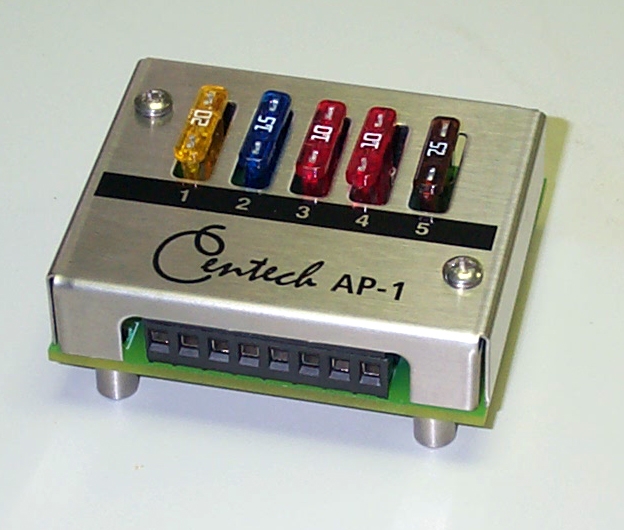
The stainless steel cover on the unit but the cover is not screwed down.

Easy enough to install.  I then took two 16 gage wires to make a positive and a negative (GND) connection to the battery.  I elected to put in several toggle switches for various accessories instead of having one main power switch for everything.  In this way I can be selective as to what accessory is currently turned on.  Wiring the toggle switches is another story that I don't care to show here, but now that I have this fuse box/panel installed, I don't have to disconnect the battery terminal any more to wire in accessories.

Ease of installation?  From a rating of 1-5 where 5 is the hardest I give this installation a 1.  It is very easy to install this unit.  The difficulty resides in deciding where to place the unit.

In terms of satisfaction?  from a scale of 1-5 where 5 is the absolute top end where I'm floating on cloud 9 sipping margaritas, I give this unit a 5 in satisfaction.  Yes, I'm floating around my pad sipping margaritas.

Not!  Like the title says, "How did I ever live without this?"

Oh! One last thing.  Remember when connecting accessories to the fuse panel to start with the positive (+) terminal first and then the negative (-) terminal.  When disconnecting accessories, remember to disconnect the negative (-) first and then the positive (+).  This will ensure you don't blow out any fuses nor fry any electronics.


Written on: September 27, 2006
Last modified: September 27, 2006