R12R Clearwater Lights Install
[ Saturday -
February 26, 2011 ]
After waiting for almost a week, the toggle switch from Trail Tech
finally came in. Now I can finish the install, but I'm getting
ahead of myself.
The new R12R has been in my possession for a year now, and it has a
whoppin' 3K miles on it. Yeah. I know. I ride the 8GS
around a lot more than the 12R. This is mostly due to the better
mileage with the 8GS relative to the commute. Still, every time I
take the 12R out, I
can't help but notice the lighting situation isn't quite how I'd like
it to be.
I was contemplating installing the combo lighting I had on the previous
12R, but I've been procrastinating because I haven't purchased a
Centech AP-1 yet.
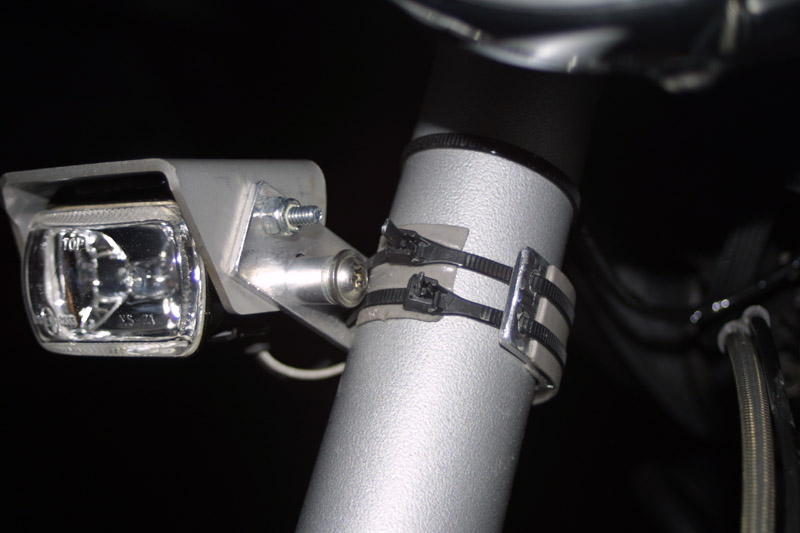
Previous R12R flood light.
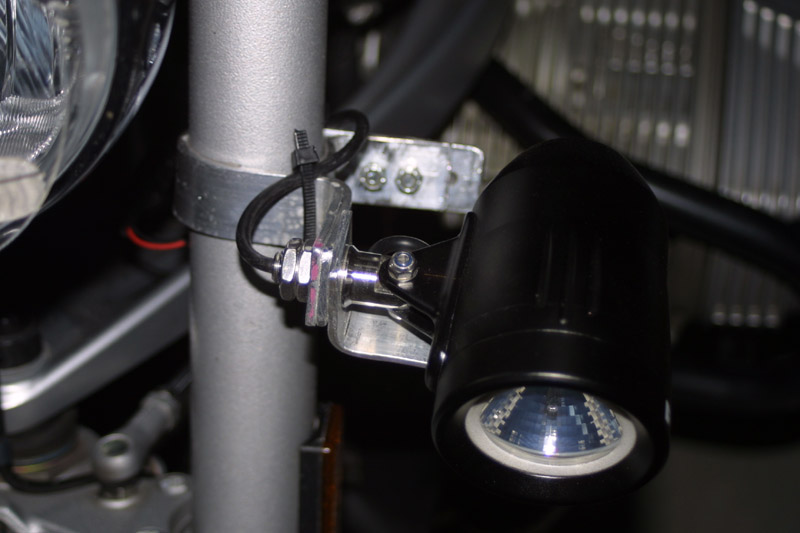
Previous R12R HID light.
One thing about the previous lighting choice is the HID and flood light
combo is
pretty bright. The 12R is low enough that it doesn't blind city
folks, but I still receive the occasional beam flashes.
Lighting system on the previous R12R.
As you
can tell from the title, I eventually decided to ditch the old lighting
system in favor of the Clearwater
Lights (Glenda kit) and its ability to dynamically adjust brightness.
Nowadays, you can purchase the high intensity LED lights directly
from the Clearwater Lights' website (http://www.clearwaterlights.com/)
instead
of
going through a third party seller like Pashnit. In my case I
tried to order the lights on-line, but PayPal gave me grief so I went
ahead and called the Clearwater Lights folks and order by phone (916-852-7029). Does it
still cost and arm and a leg? Yes, but it is still worth every
penny. What can I say. You get what you pay for.
With
almost 10% CA sales tax, my kit comes to $505.65. Fortunately for
me, I'm a returning customer so the Clearwater Lights folks were
generous enough to give me $50 off. Thanks Clearwater
Lights. You folks are so friendly and pleasant to talk to.
If you say, it's only $50. I say, "Hey! Anything is better
than nothing."
BTW, don't be
deceived by the website lacking R12R model information.
Clearwater Lights have mounting systems for the R12R also. You
can mount
via an engine guard, if you have one, or via the brake caliper
mounts. For me, I don't have an engine guard so I
went with the brake mount kit. What can I say... my 12R is on a
diet.
A week or so later, the 2nd generation Glenda kit is at my door.
Awesome! Now I just have to put it all together so I can be
spotted easily on the 12R. How do I know for sure people are
seeing me? I've had several reports from motorists that they
become focused on my lights when I'm behind them on the 8GS. If
that's not enough proof, I don't know what is.
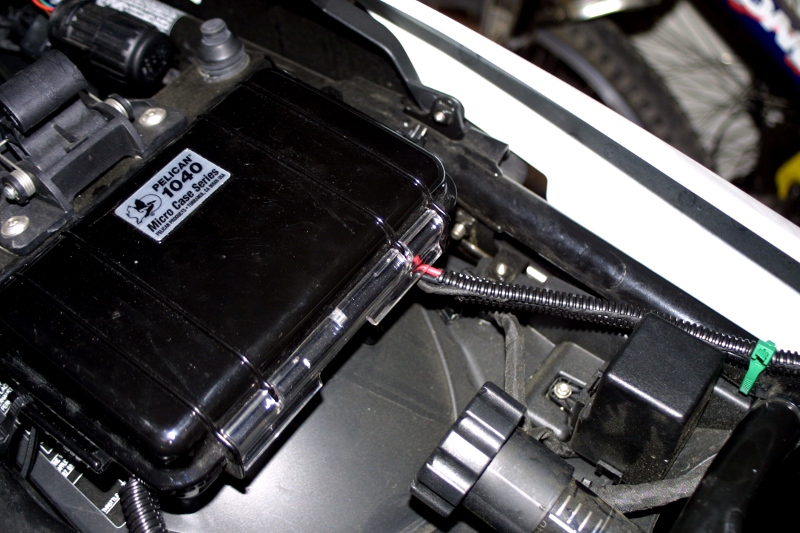
Once more I dig out the old Pelican 1040 case from the last R12R and
install the appropriate mechanical relay, incoming power fuse, and the
Centech AP-1. As with everything that you do twice, this time
around installing the Centech AP-1 is a snap because of the experience
from the previous 12R.
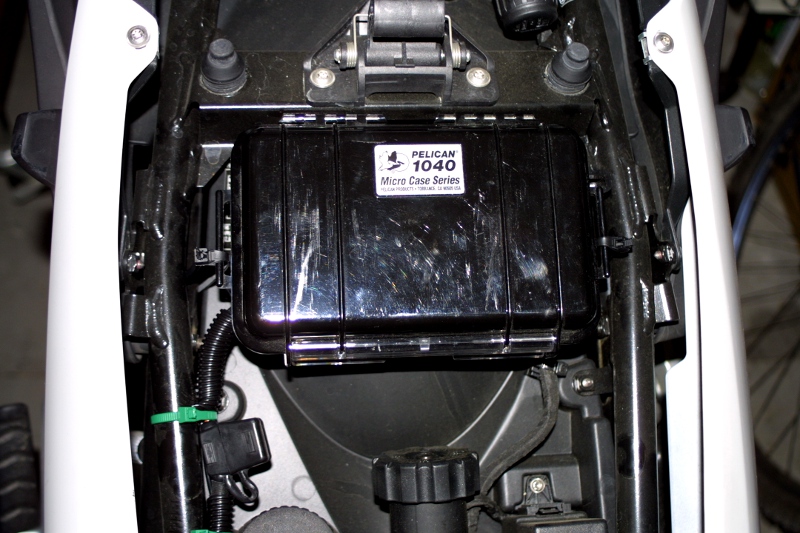
Case held down with 3M double sided indoor/outdoor tape (under the
case) and a couple of
tie wraps.
Drilled a hole on the other side of the Pelican case to run the wiring
for the lights.
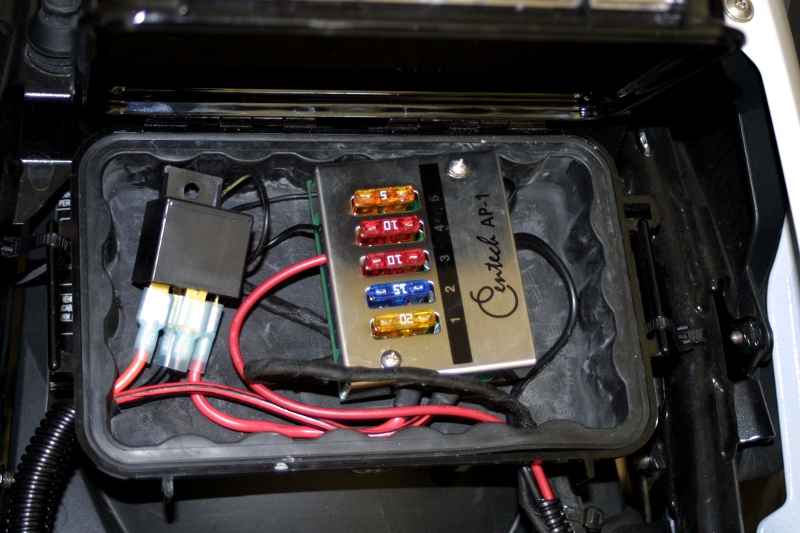
Here's what it looks like inside. Everything is protect from the
elements.
Not that the elements ever get in under the seat all that often.
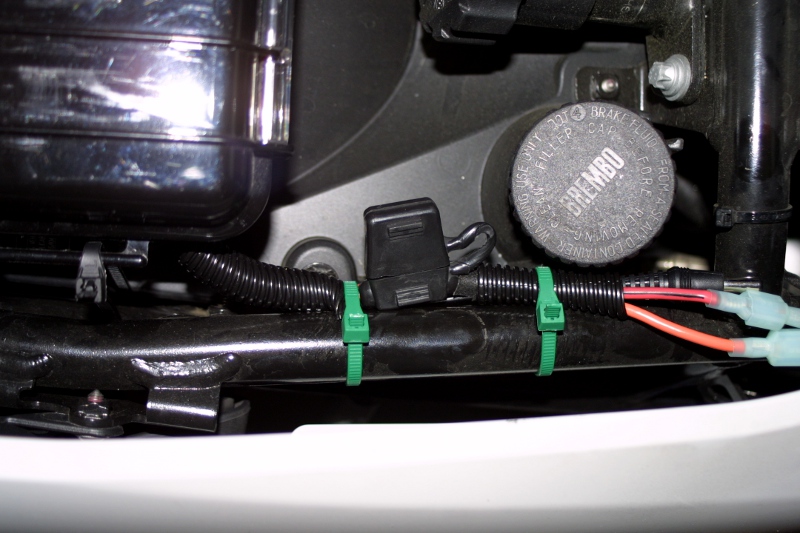
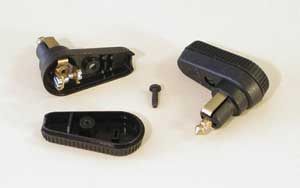
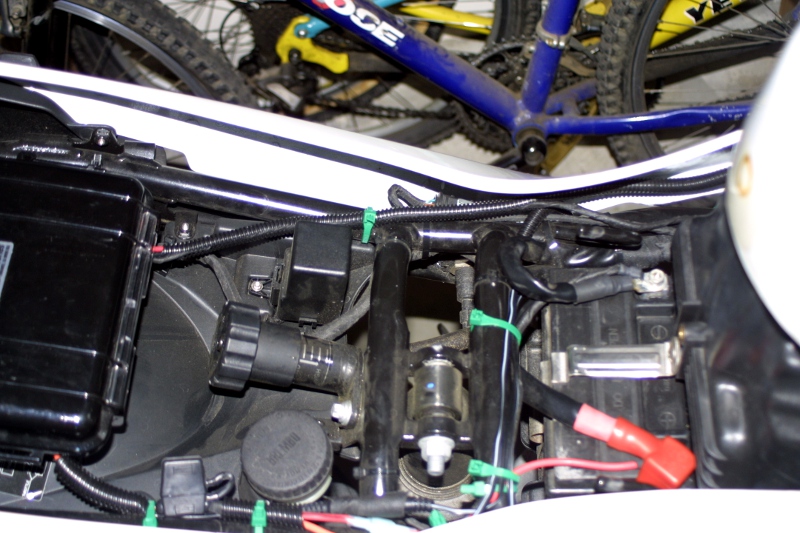
I have elected to use the accessory socket with an adapter to trigger
the relay instead of tapping into the accessory socket wiring. In
this way, I don't damage any wires.
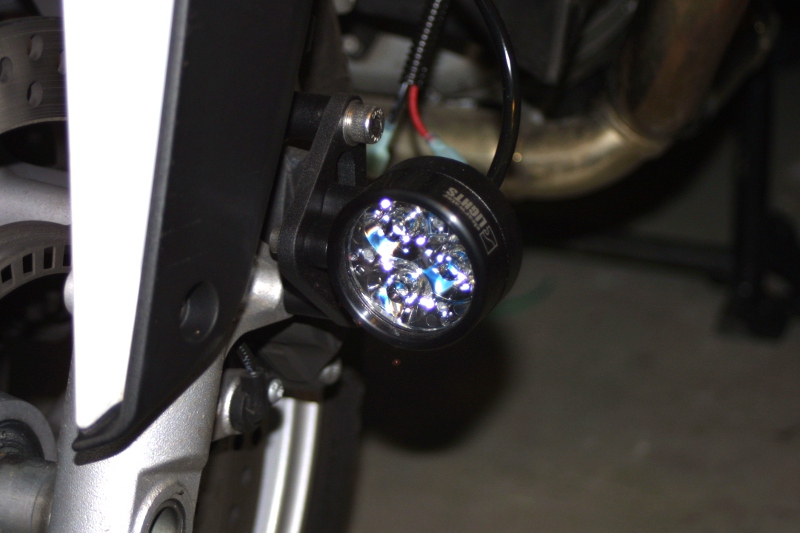
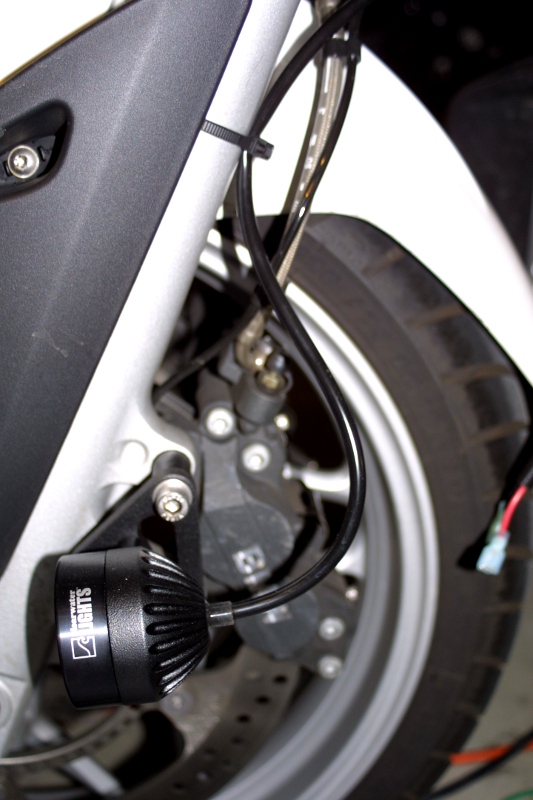
Now it's time to mount the lights and find the best path to run the
wiring. Mounting the lights is a piece of
cake. The only think to note is the lights have to be tightened
to the mounting bracket before installing the light brackets to the
brakes. There isn't enough room to get a hex wrench in between
the light bracket and the fork. It might take a little fidgeting
to adjust the angle
of the lights. In my case, I just tighten the lights at exactly
center and not angle the lights up or down. With the 12R on its
center stand, the lights are slightly angled down when installed.
However, when the bike is off the center stand, the light angle is just
right.
A little slack to prevent any kinks in the wiring.
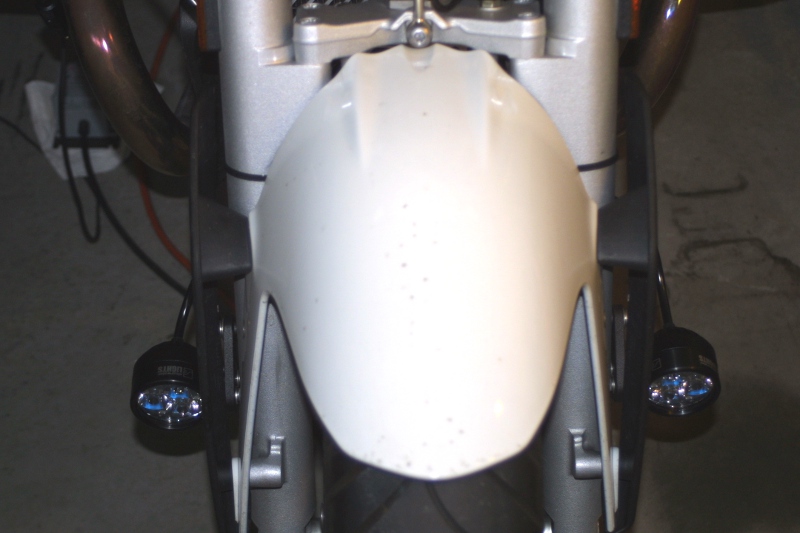
The tie wraps fit right between the forks and the fender without
touching the fender.
30NM later, the brakes are back on and secure. I
give the brakes a couple pumps to make sure I have brakes
when I ride next. Now it's a matter of running the remaining
electrical wires and hooking everything up.
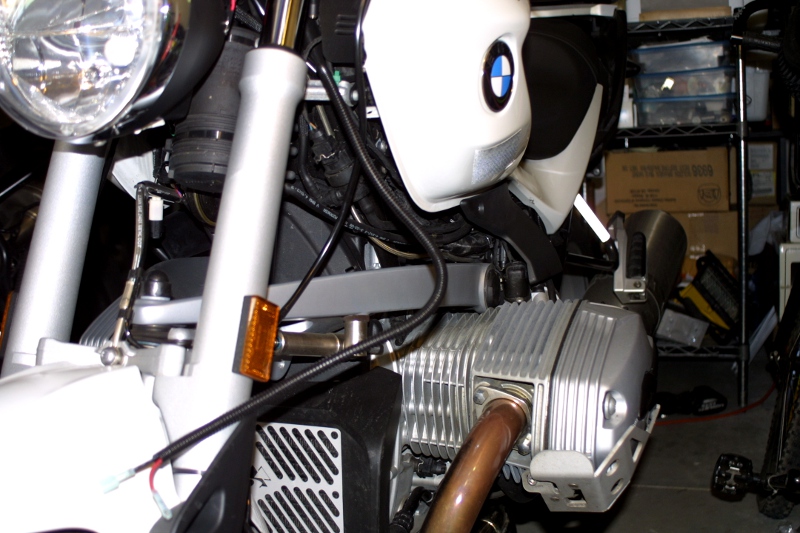
Big O' 16 gauge electrical wire to feed the lights. It's a bit
long.
I ended up trimming the wires a bit.
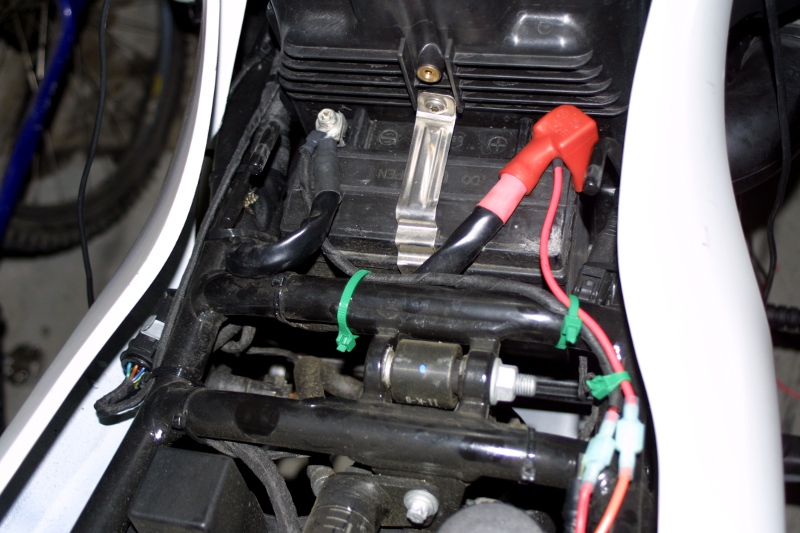
I gathered all of the wiring for the lights and combined them together
in a neat fashion.
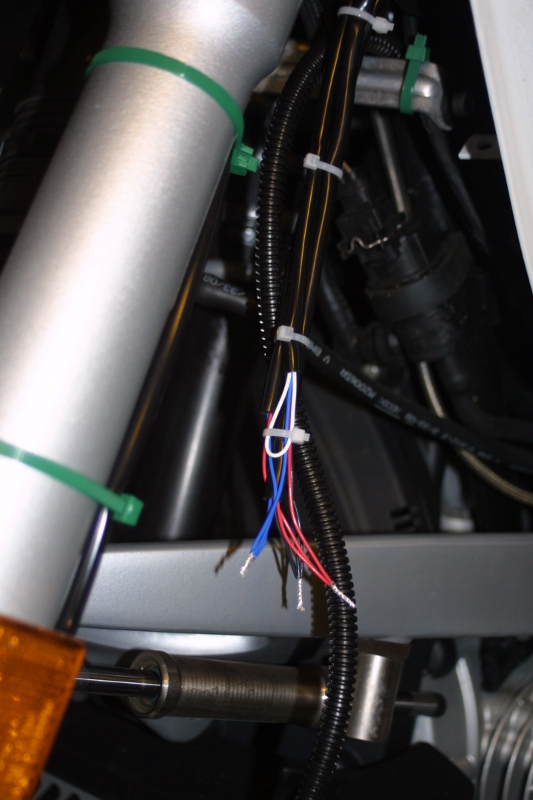
Red - positive
Black - negative
Blue - volume knob (connected to one another and to nothing else)
White - not used for my configuration.
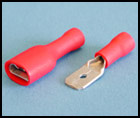
Then I crimped the wires using male and female push-on connectors,
connect everything up, and tie wrap everything together to keep it all
nice and neat.
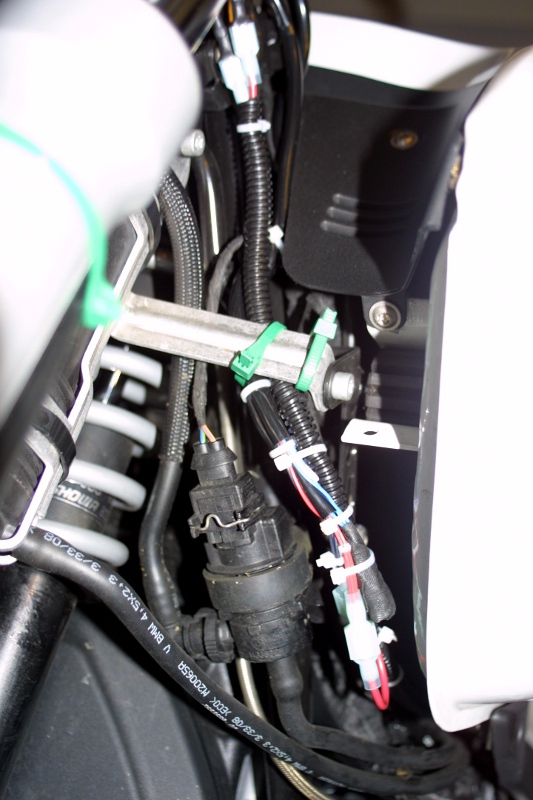
Much neater and out of the way.
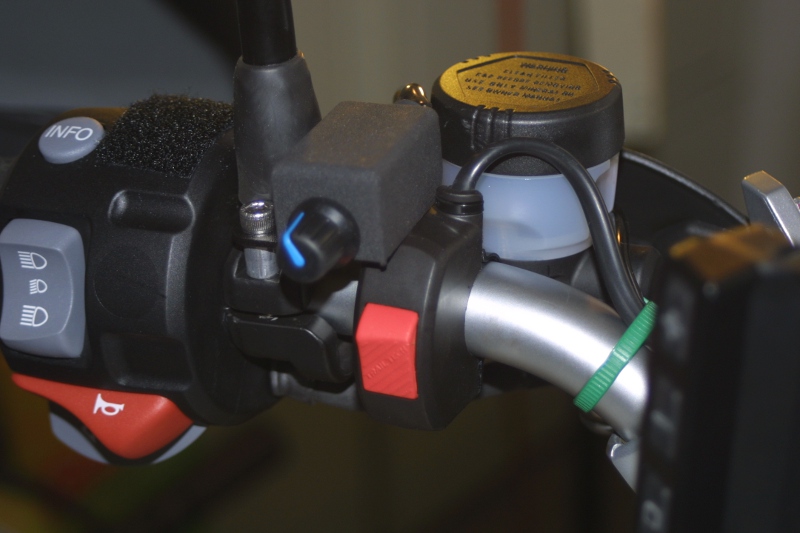
Here's how it looks at the handlebar.
Once again, I decided to wire the lights to a toggle switch instead
of tapping into the bike's light power source because there are
instances
where I don't want the lights to be on. It's nice to turn the
light on/off on demand.
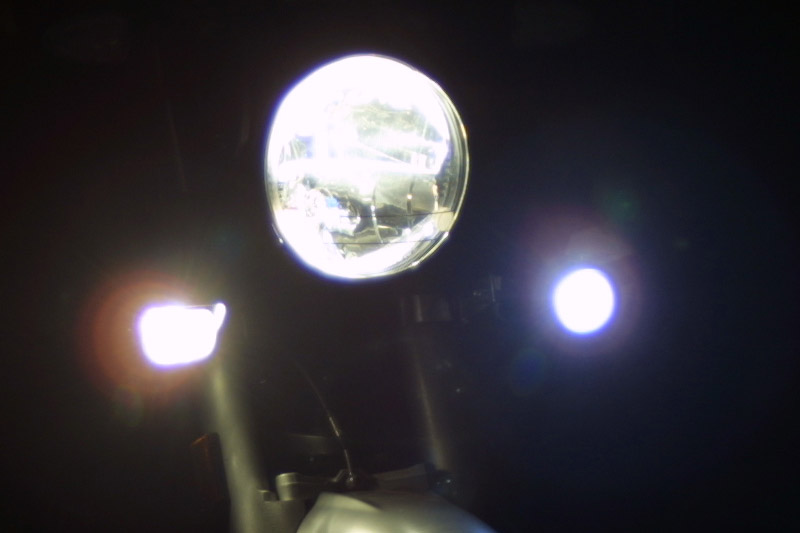
"Bob's you're uncle!" It's time to test the lights.
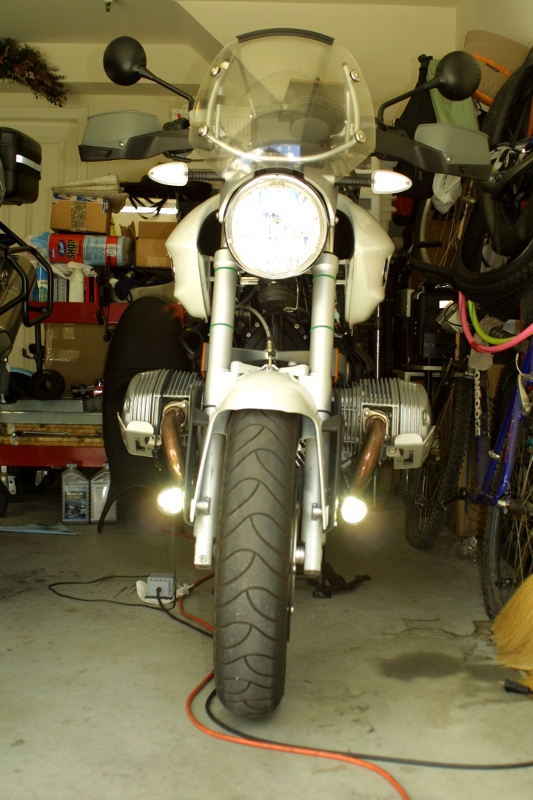
1/3 brightness setting
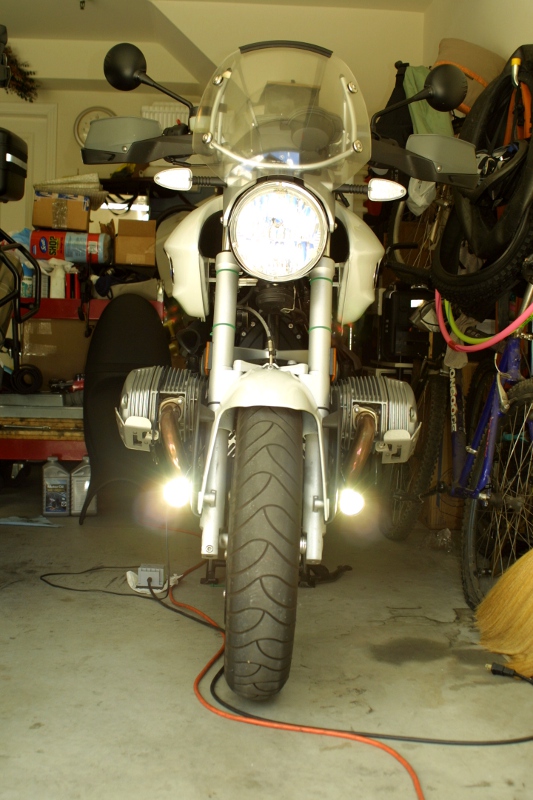
1/2 brightness setting.
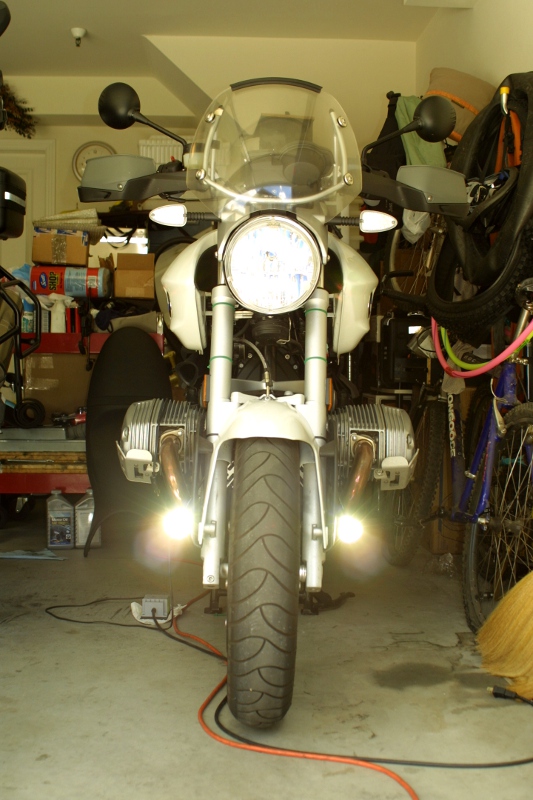
full brightness setting.
Do I ding Clearwater Lights .1 point out of 5 this time around just
like last time? (Clearwater
LED Lights) Even with the kit's docs still being in black and
white. No. Why? Have I fallen to corruption and given
the company that extra .1 point because I like the lights so
much? Nope! Hardly. The reason for this is because
Clearwater Lights has provided full colored PDF documentation
on-line. No longer is there a need to guess as to what color wire
goes where. Just go to the Clearwater Lights website
and look up the document that best fits your bike.
It's a 5 out of 5 folks. I could even go higher than a 5 but it
doesn't make any sense in a scale from 1-5. As like before, I can
see and feel the quality of the product in my hand. It's
definitely worth the money.
Written on: February 26, 2011
Last modified: February 26, 2011