Wunderlich -
Micro Flooter Light Kit for R1200GS
*** WARNING *** (check this out if you've recently
received recall updates on your R12GS)
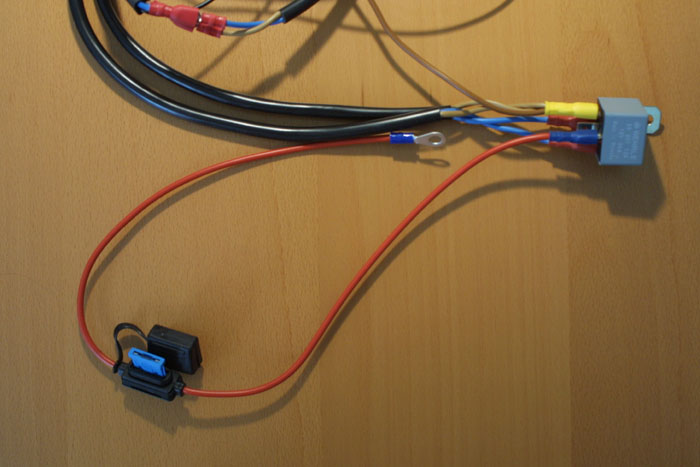
Something to note on this light kit. The lights are connected
directly to the battery but there is a relay in the mix for auto power
shut off. The red lead goes on the positive (+) battery terminal
and
the brown lead goes to the negative (-) battery terminal. The
small
black wire will be spliced into the red wire on the BMW accessory plug
outlet kit (kit part no.: 71 60 7 685 121). Wunderlich has
provided the cable splicer in the kit.
It's the red plastic part at the top left corner on the parts list
picture below.
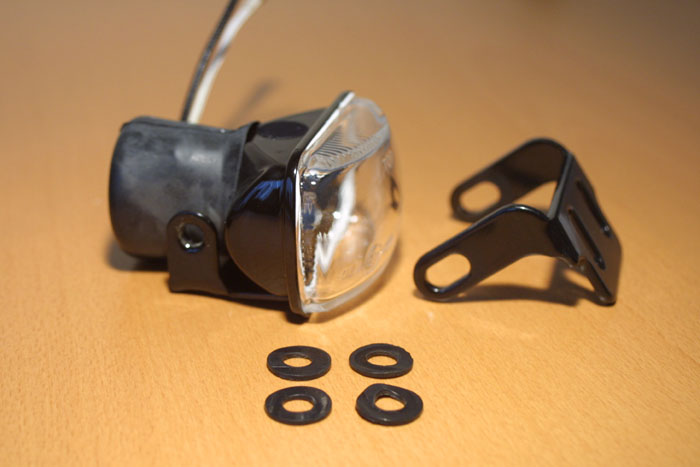
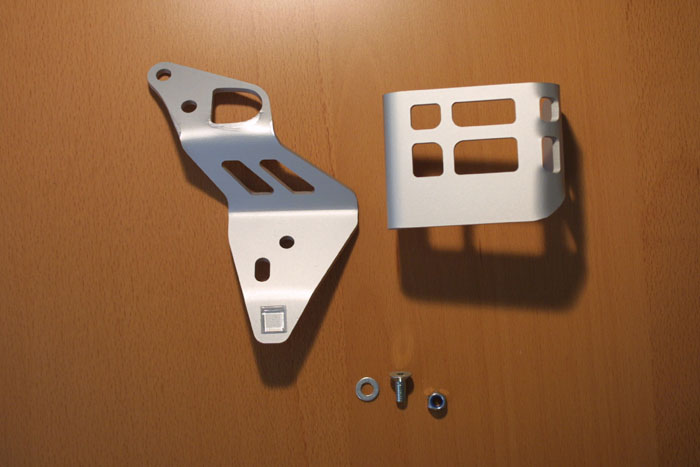
Here is what came in the Wunderlich light kit. Parts list:
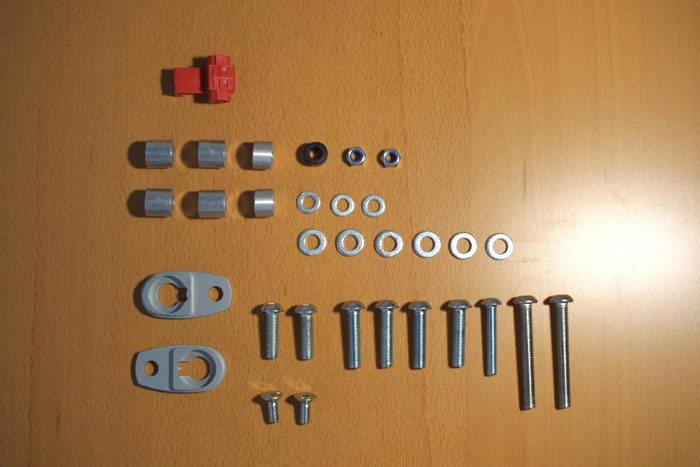
Not all the parts here are used.
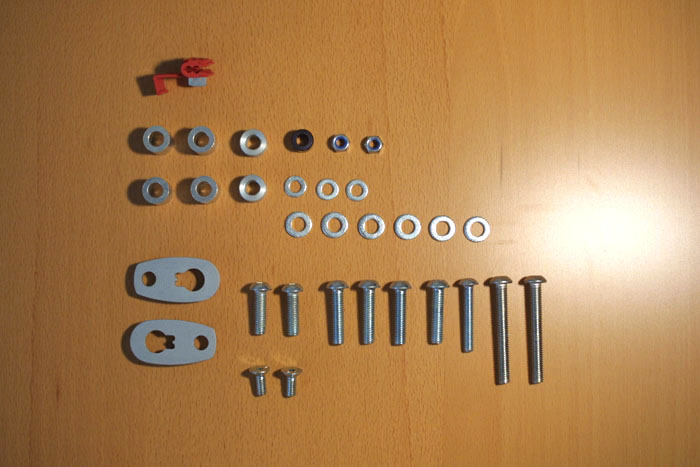
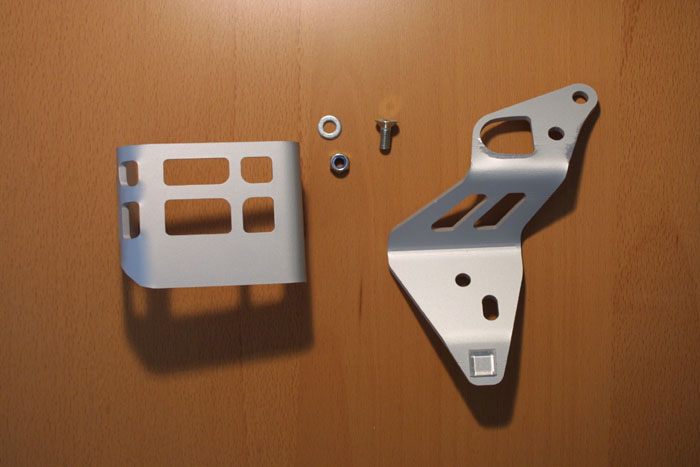
Alternate view.
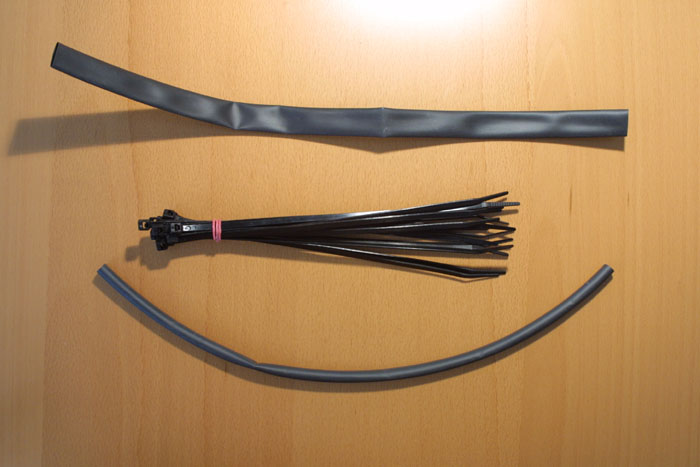
Large shrink tube, tie wraps, and small shrink tube.
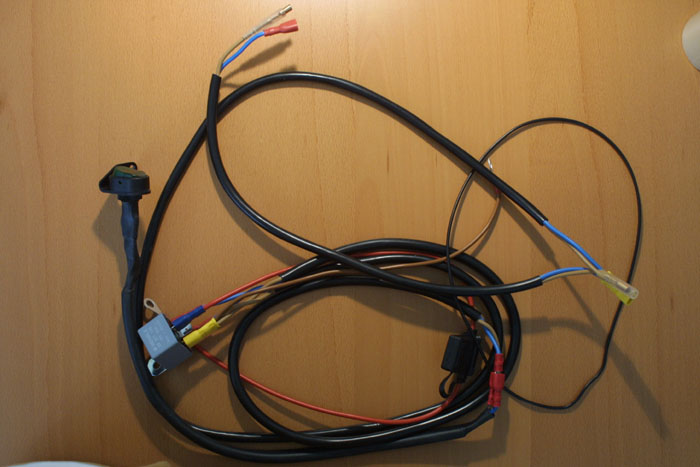
Electrical cabling ... excuse how it looks. It has to fit
into one picture.
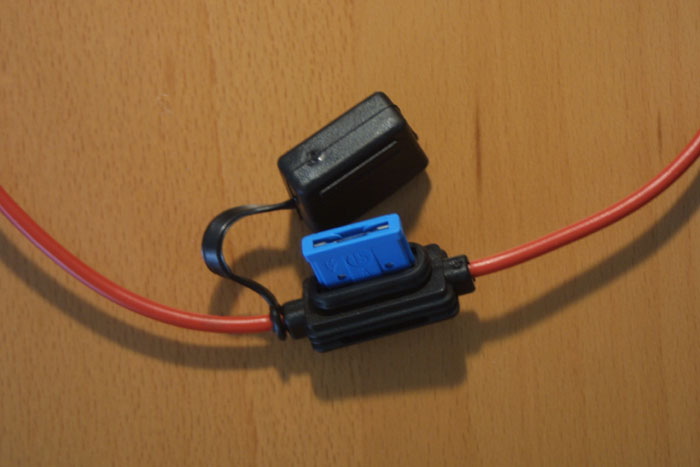
This is the fuse for the power cable (15A).
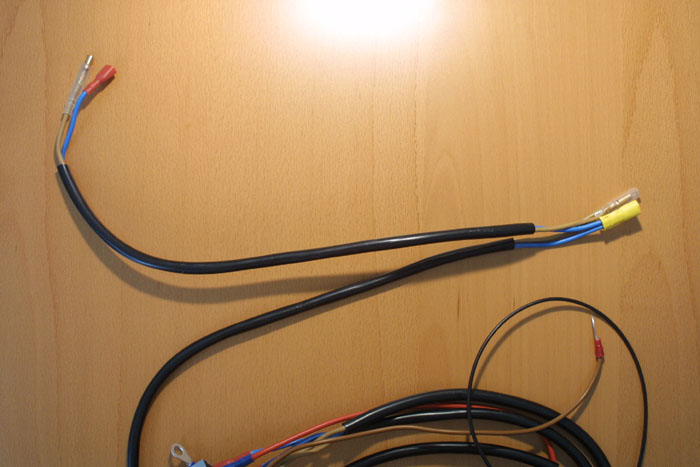
These are the power leads for the left and right lights.

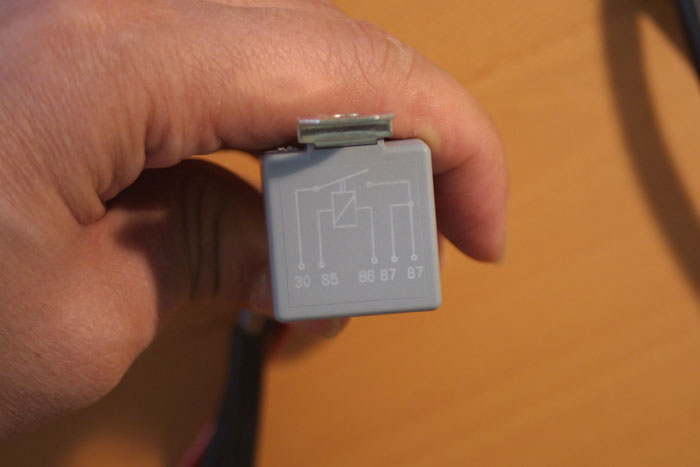
The relay for the lights.
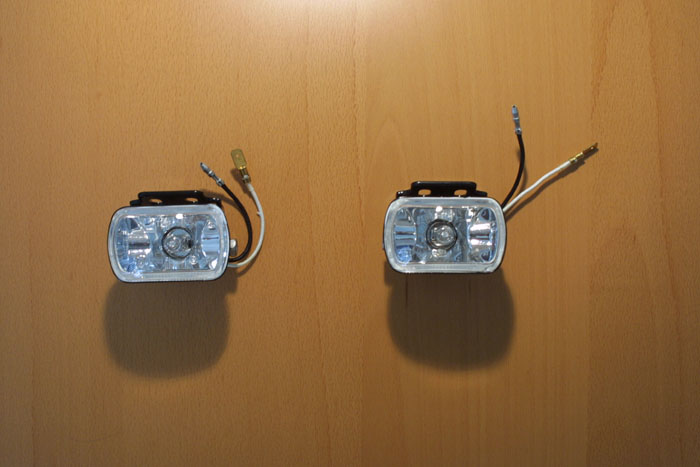
The lights are made of glass and metal.
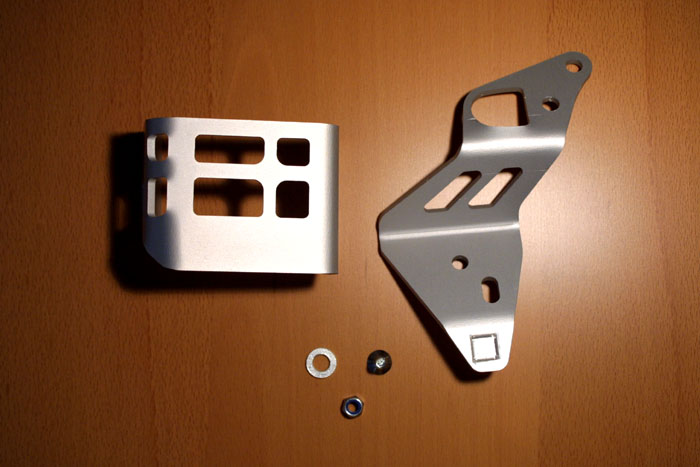
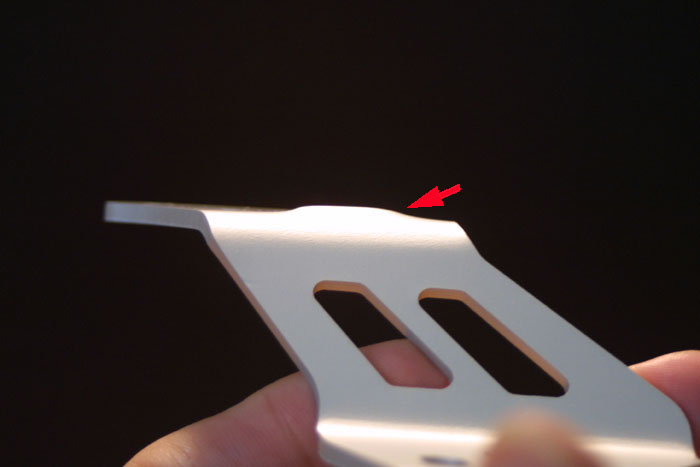
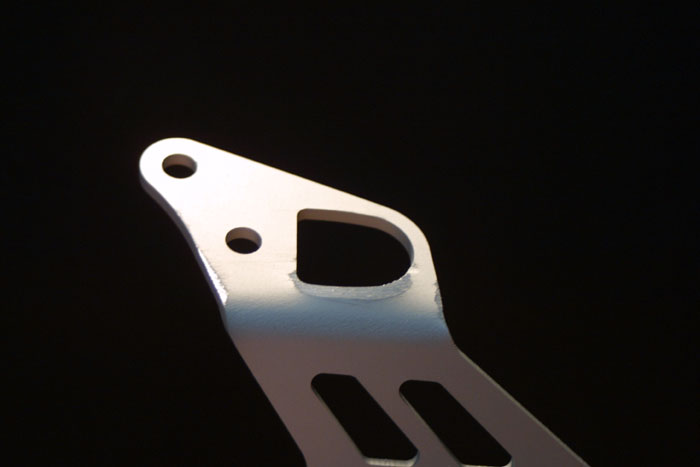
Right side mount (right is relative to being on the bike). Note
the non-flushed piece of aluminum
on the large piece, towards the top.
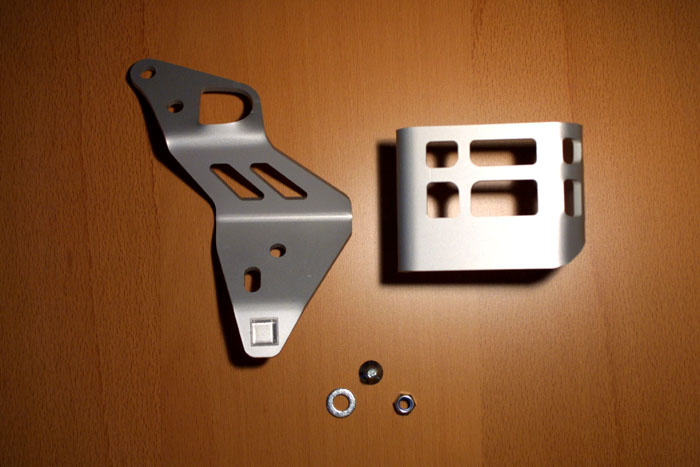
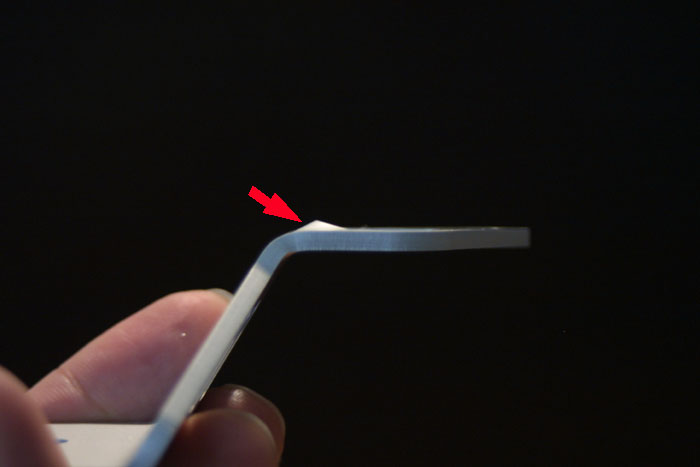
Left side mount. This large mount piece also has a non-flush
piece of aluminum
towards the top.
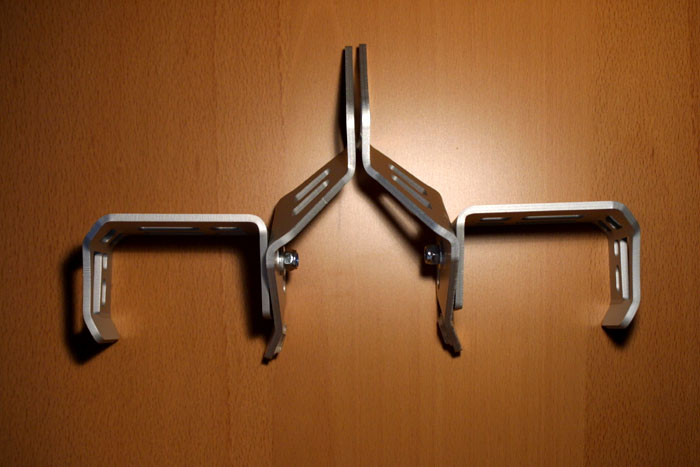
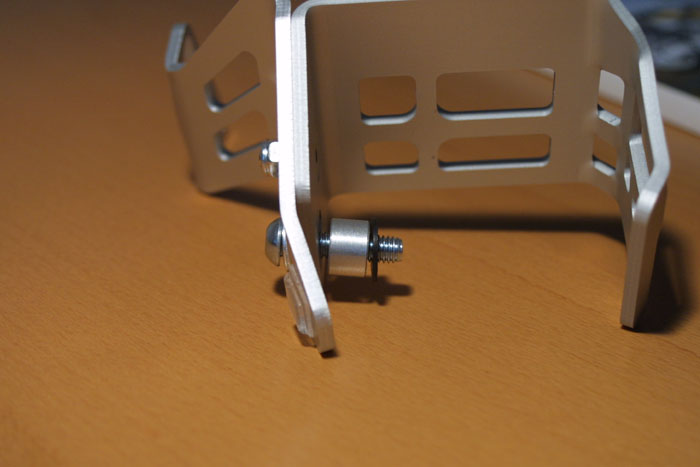
This is roughly how the mount is suppose to fit together.
I don't know if you can see it or not
but the mount that goes onto the bike has a bit of aluminum protruding
when it's suppose to be flush. As a result, some hand grinding
needs to
be done. In fact, it turns out two of the spacers also needed
major grinding in order for the light to be mounted. It almost
seems like Wunderlich doesn't test fit their parts. There were
indications that quality control isn't very hot. This is
particularly true because I found an extra screw where it's not suppose
to be. I'll point this out later.
In preparation for a smooth fit on the bike, I had to grind down the
two mounting pieces that are to have contact with the bike.
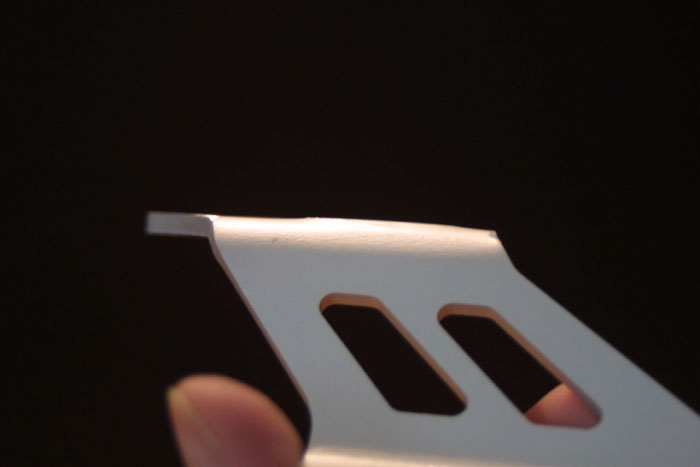
As you can see from the three images above, the primary mounting plate
has a protrusion of aluminum where it's suppose to be flushed.
This is the part of the mount that touches the bike. Having this
part shaped in this way will no doubt cause an uneven mounting of the
lights. Here is the same mount piece after a couple of
applications of elbow grease with a file.
It's not pretty but it works. The next step is to attach the
light brackets on to the mounting pieces. There are two fairly
short counter sunk screws. This in conjunction with the small
washer and lock nut will connect the brackets together.
Here is all that is needed from the parts list to put the light bracket
and
light mount together.
This is for the left mount.
Here is the same thing for the right side.
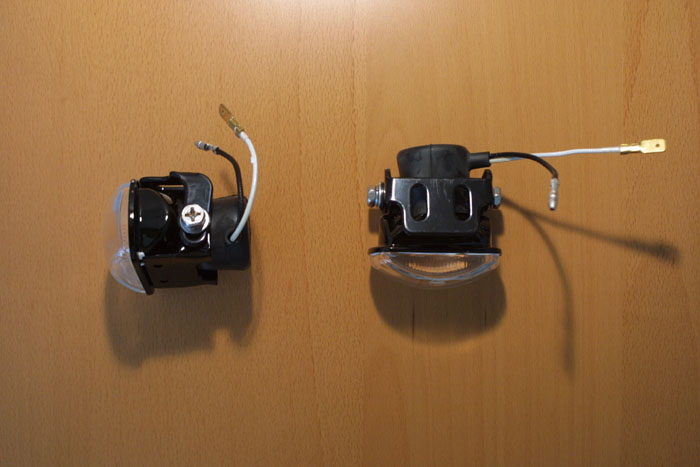
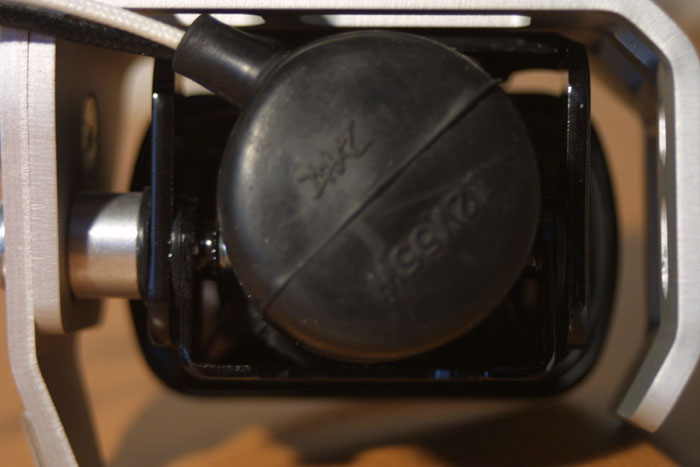
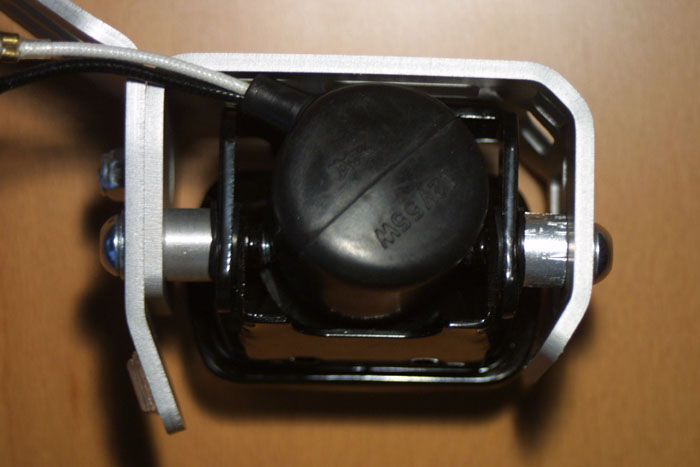
The next thing to do is prep the lights themselves for mounting.
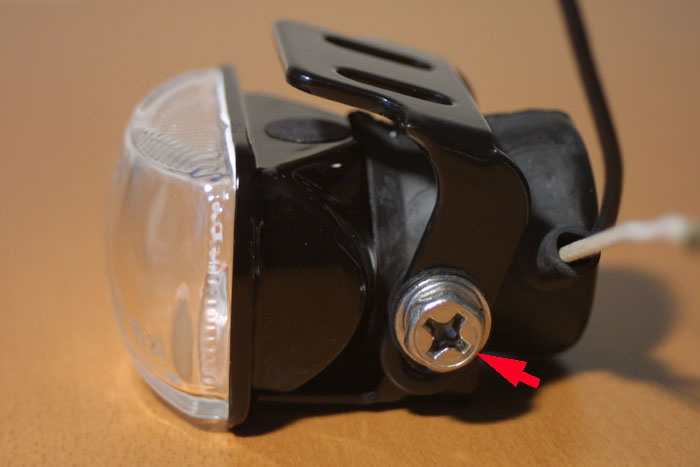
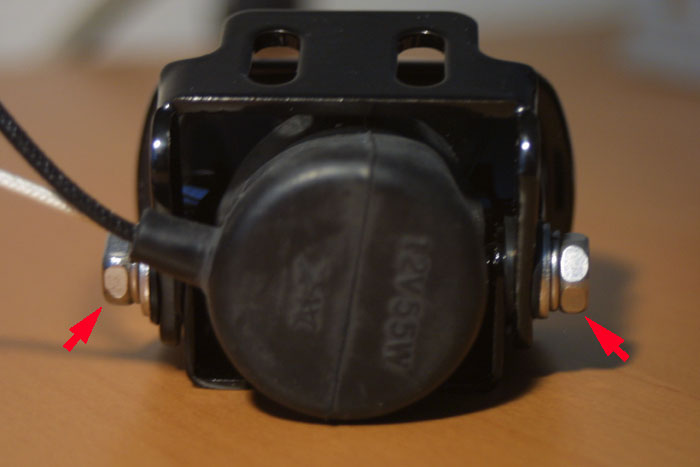
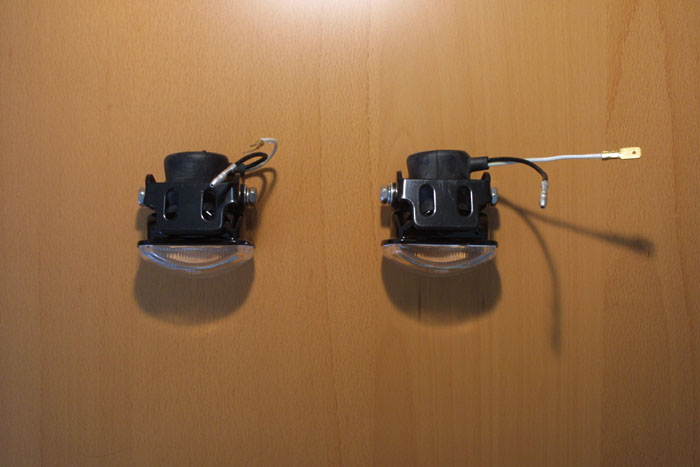
At this point go ahead and disassemble the light that came with the
kit. The lights should look like the pictures below. Note
the arrows point to the screws that you need to remove. However,
it's a good idea to keep the rubber washers for later use.
The interesting thing for me was, one of the lights after disassembly
was rattling when I shook it. That's not right.
Why should a light make a noise when it is shaken. I was
listening to the light as I shook it and determined there was something
within the light's rubber housing in the back. I removed the
rubber
housing and found a screw. "What the f**k!!" The
probability that you'll encounter the same problem is dismal.
However, it happened to me and I didn't know what to make of it.
So now I have 5 unused light mounting screws instead of 4. Weird.
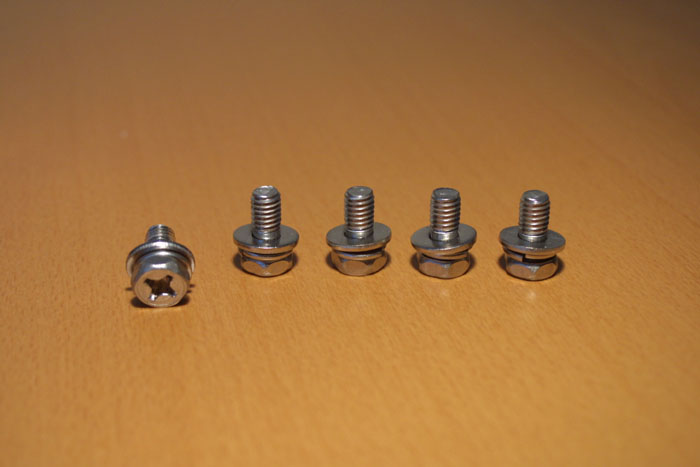
And there you have it, the extra screw at the left end.
Of course this is the thing that makes me question Wunderlich's
QA. I have also noticed other products from Wunderlich that
doesn't fit so easily in the past. I guess they just crank parts
out as fast as they can. QA? What's that?
Now that the lights have been disassembles, it's time to put them into
the light bracket.
The start of a brighter future ... at
night.
Note the rubber washer to the right of the spacer.
Now here's the deal. As you can tell from the parts list,
Wunderlich gave me two short spaces and 4 long spacers. As it
turns out, what I need is the opposite. 4 short spacers.
The long spacers don't do jack for me. It doesn't fit
anywhere.
The sad thing about this is, there are no instructions as to how the
lights are assembled. The instructions were more focused on
putting the light
on the bike than putting the lights together. So I ended up
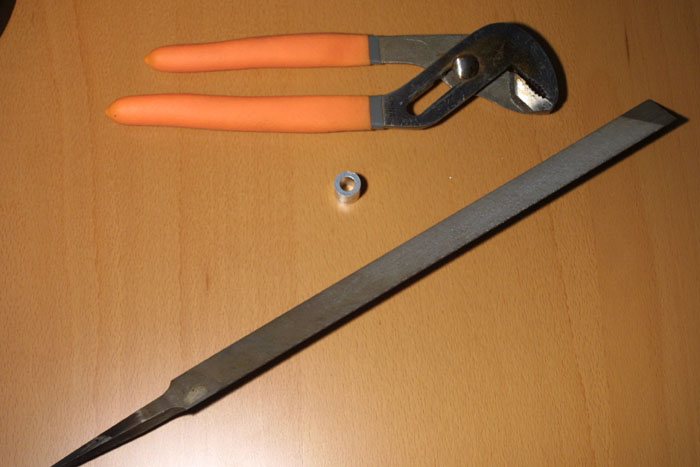
improvising. Once again, I have my handy-dandy machining tools
ready to go.
That's no regular file, it's a
triangular file.
No special reason for using a triangular file, it's the only one I
have.
Here are some images of where I've been and where I'm going to.
The thing to keep in mind is that I chose to use the rubber washers
that were originally on the light. My thought is, the rubber
washers will dampen vibration and will also prevent the light from
shifting because of better friction.
The spacer on the very left is one of the 4 long spacers. The
spacer on the very right is the short spacer (Wunderlich
provided).
The spacer in the middle is yours truly's master machining
techniques of one of the long
spacers. You can see the scuff marks from the pliers clamping the
spacer while I was busy creating aluminun fairy dust. Once
again, not pretty but quite functional.
Here is and indication of how much I had to loose to get things working
for me.
Here is the light in it's bracket all put together on one side.
It's kind of hard to see but if you look close enough, you can see the
rubber spacers.
It took me approximately 15 minutes to
file the spacer down by hand. If you have power tools, you'll
probably be able to do it in no time. Minutes. I sold most
of my power tools a while back so I have to do everything by hand
now.
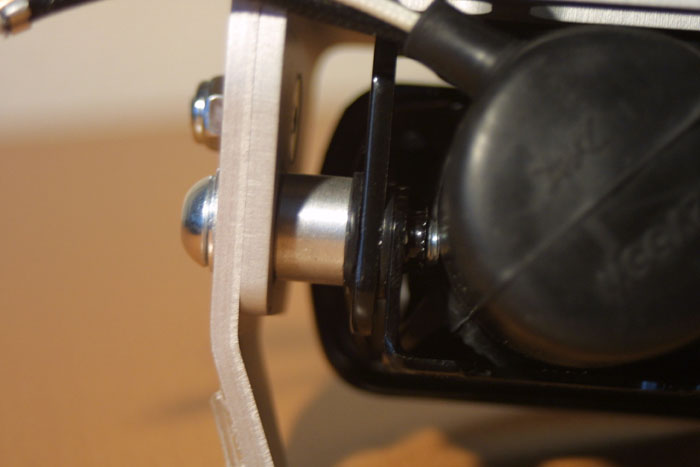
Once the second spacer is to the desired height, I install it with the
rubber washers and I'm all done. Two rubber washer per side.
The hand constructed spacer is on the right ... of course.
Here's a closer look. You can see the two rubber washers a little
better in this pic.
At this point I'm done until I get the replacement/correct accessory
plug outlet kit from Santa Cruz BMW. Stay tunned. BTW,
installing these lights involve removing the gas tank. Ugh...
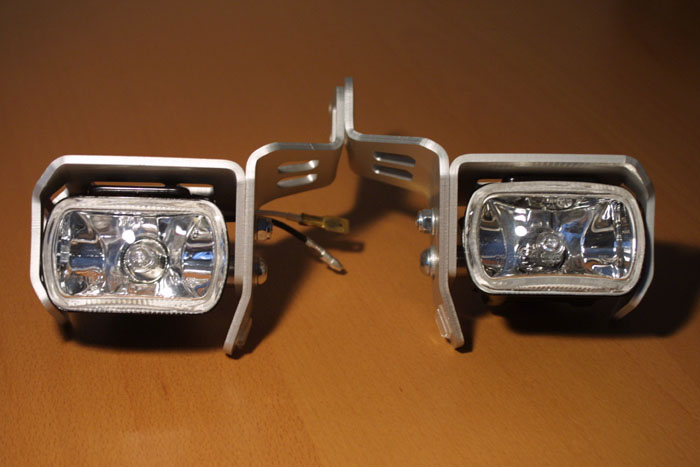
The final assembled lights.
Page 2 , Page 3
(if you already have a front BMW
accessory plug installed)
Written on: Dec 10, 2005
Last modified: September 6, 2006