 Baehr Ultima XL Installation
(Installing the electronics)
Installing the Ultima XL is really not the hard part, it's all the
other
stuff that takes the majority of the time.
First things first. I removed the panniers, pillion seat, and
driver's seat.
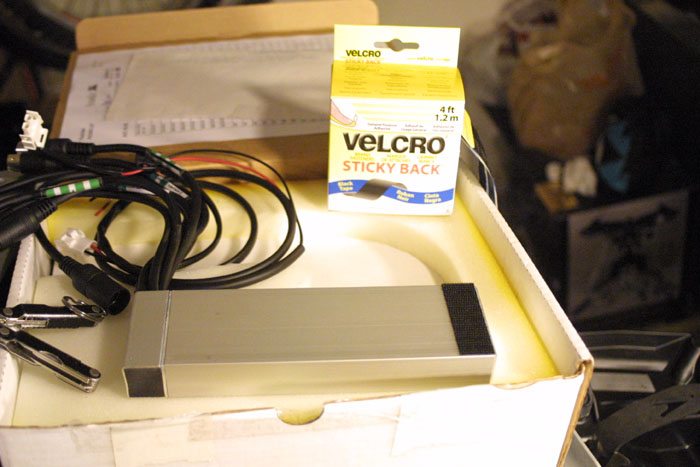
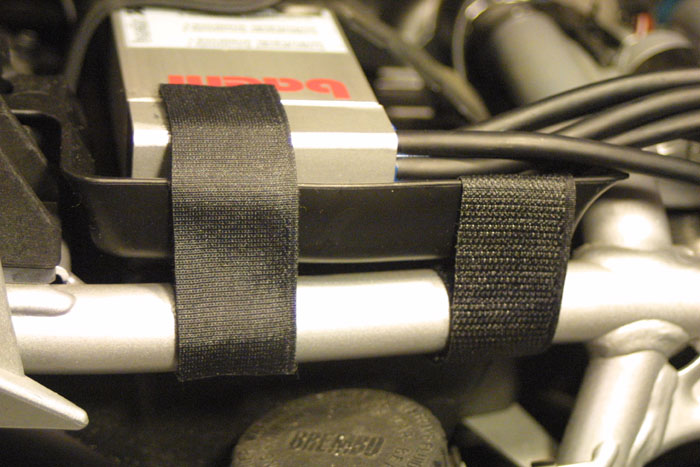
Next, I looked around to see where to install the intercom. Since
I had moved all of my, skimpy, tool set to my panniers, the tool cradle
was the most logical location. Plus, when I placed the intercom
into that tray, it fits like it was meant to go there.
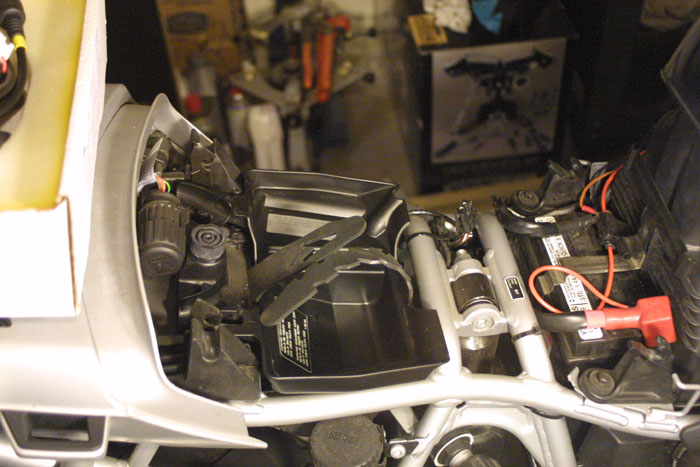
It's begging to be placed here.
Snug like a bug in a rug.
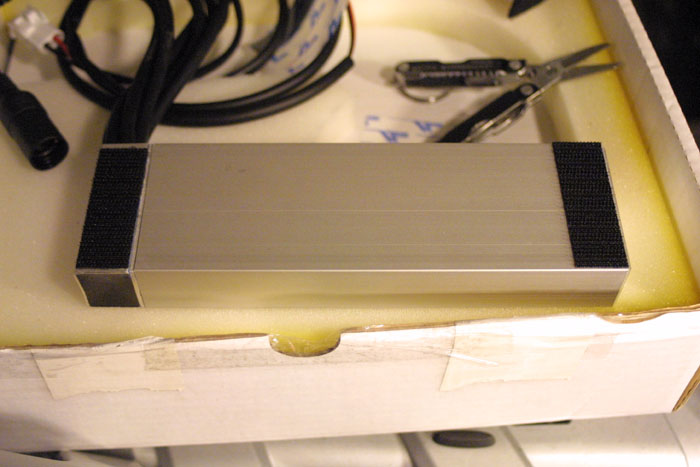
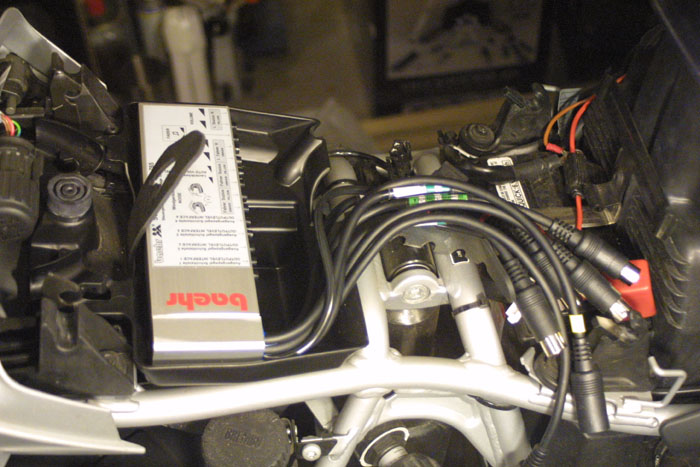
Now that I have found my perfect spot (or was it the spot found me?), I
took the tray and washed it off to get rid of all the dirt and
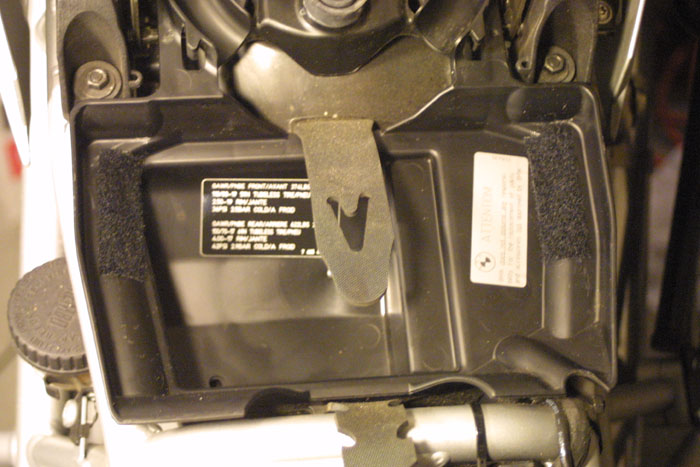
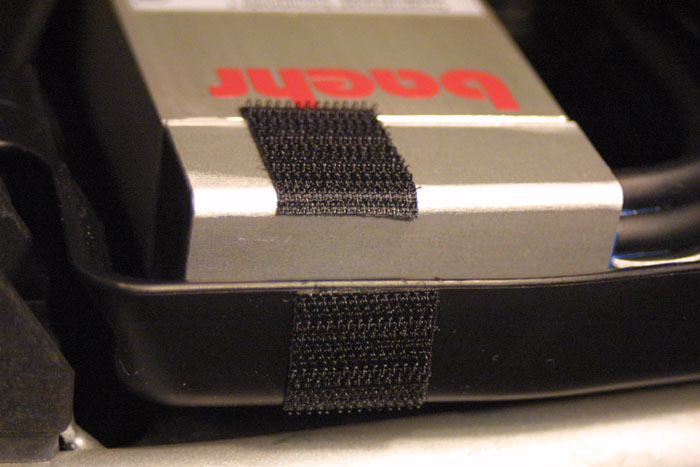
grime in preparation for the mounting. The kit came with mounting
parts but I opted to use one of my favorite handy-dandy tools... Velcro.
The next thing to do is splice the accessory plug power cable to draw
power for the intercom. This time around I decided to splice the
wire close to the rear accessory plug. In this way I didn't have
to remove the tank and all that wonderful business.
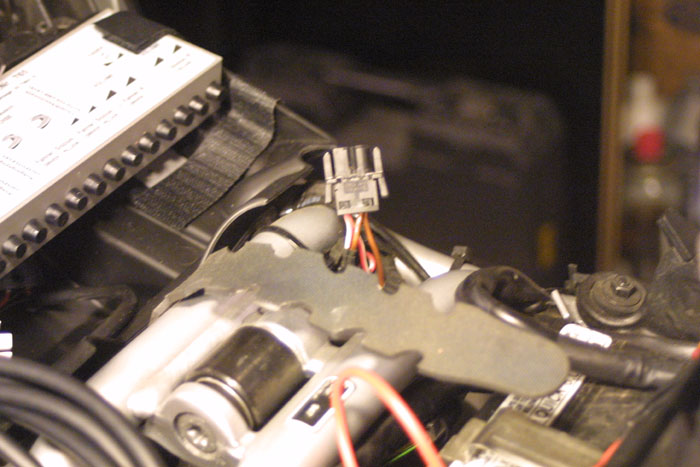
This time around it's the rear plug that gets the chop chop.
All I did was remove a small bit of housing on bot + and - wire and
soldered the appropriate power
wires together. As with my previous installations, red-white is
+, and
brown is -. I then apply a healthy dose of electrical tape to
prevent
any possibility of moisture coming in contact with the wires.

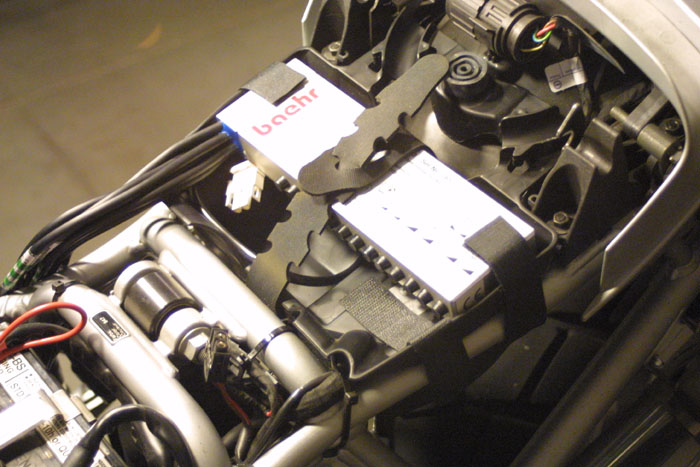
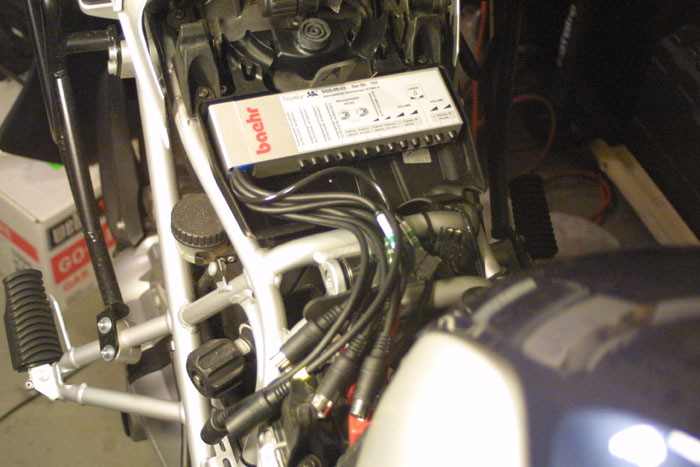
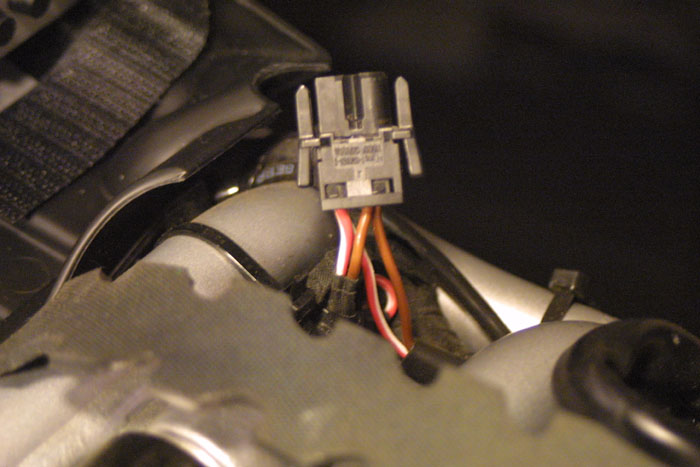
The intercom power cord is spliced into the rear accessory plug wire.
Here is the power cord connected to the intercom and the power cable is
tucked away underneath the intercom. That toolkit tray sure is
handy. This essentially ends the installation of the intercom
unit itself.
The rest of the installation is more related with how to route the
wires for all the electronic devices.
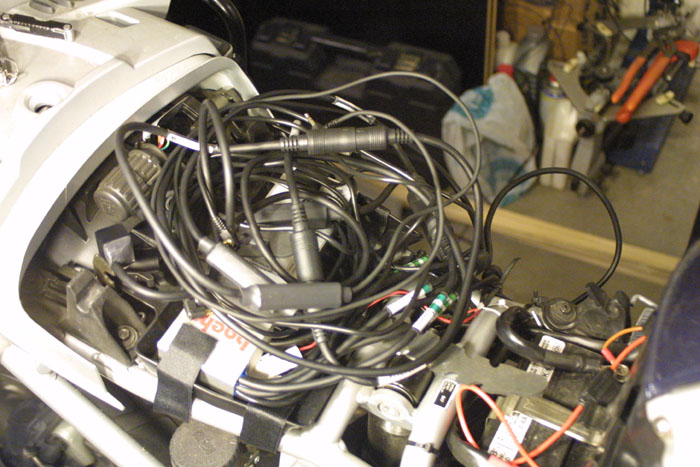
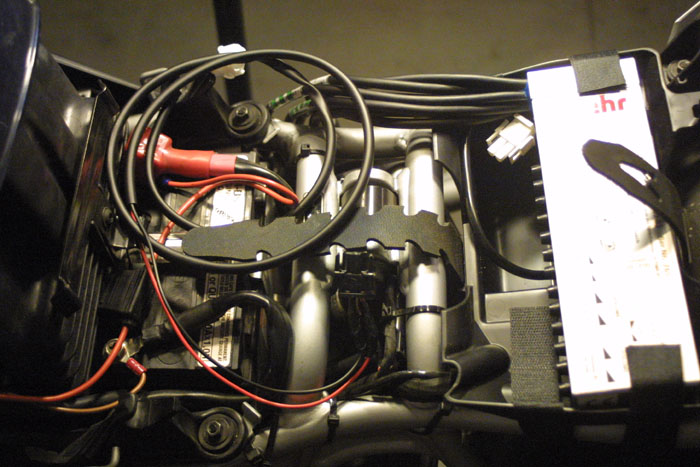
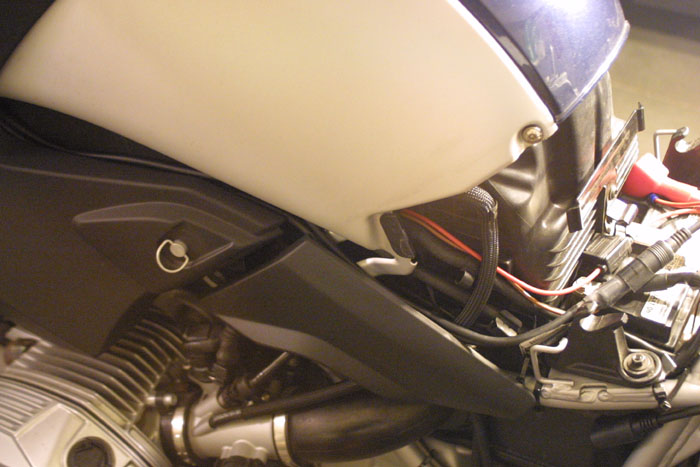
Now here is a sight that nobody should be hold, but the real questions
is, "Where am I going to route all these cables?"
Wow! This looks horrible.
I initially thought of pulling the tank but I didn't want the intercom
wires to run so close to the ignition system. Who knows, the
intercom wires might interfere with the ignition system or vise
versa. Any way you look at it that definitely is a bad
thing. In the end, I decided to run the intercom cables on the
outside of the bike next to the gas tank and under the side panels.
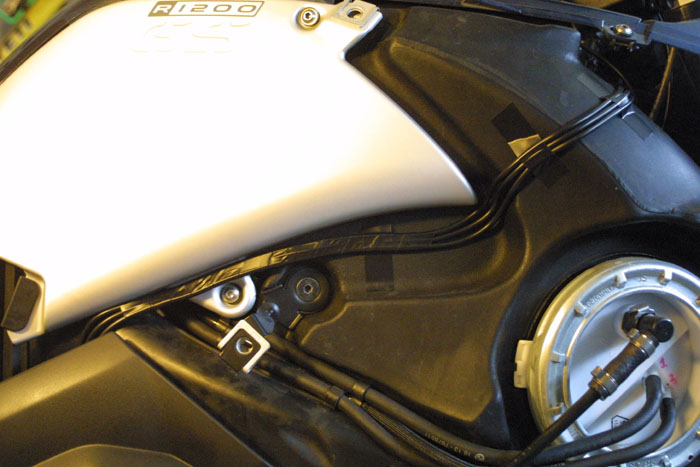
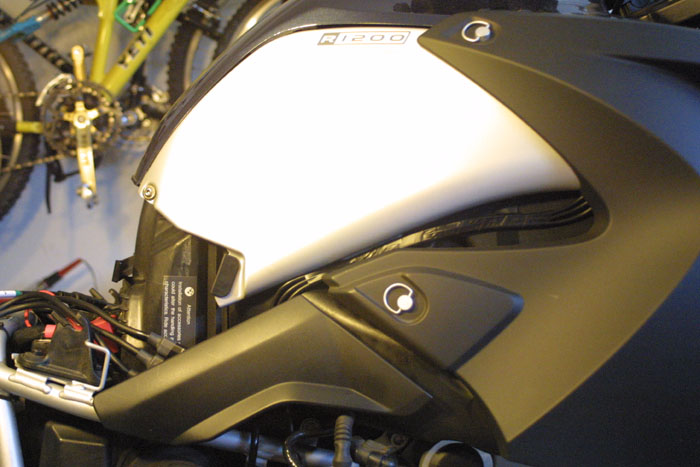
Now this looks a lot better.
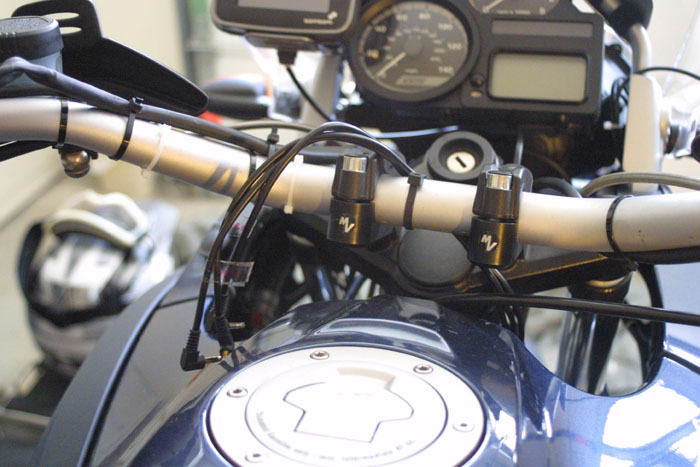
I also decided to run the cables on both the left and right side.
The larger two-way radio cables are going to be run on the left side
and the cell phone, navigation, and MP3 cables are going to be run on
the right side. This really helps to reduce the bulk.
Left side radio cables. You can kind of see the cables under the
panel.
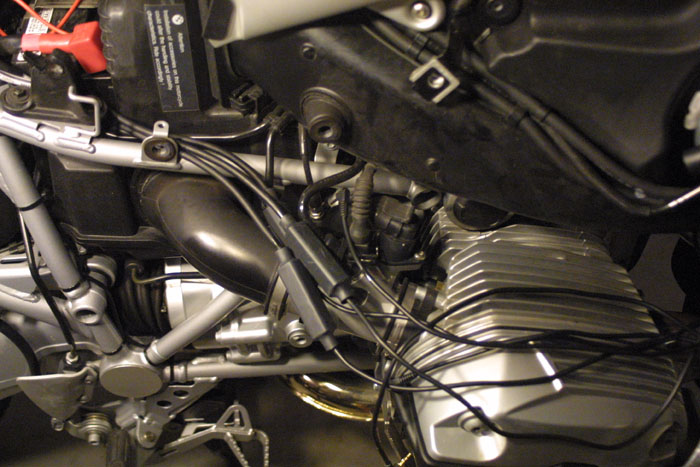
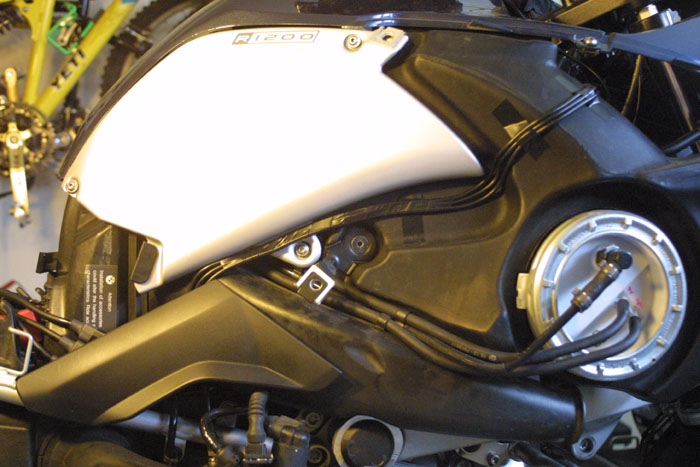
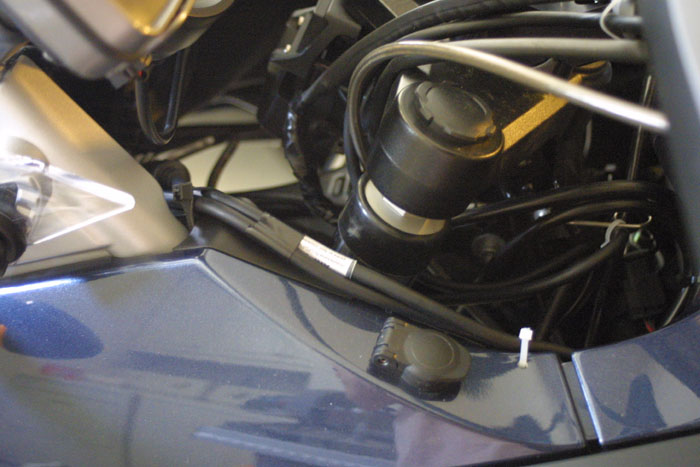
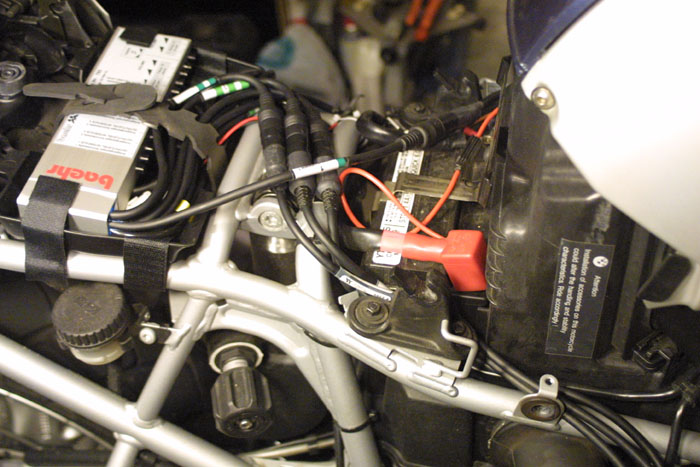
All of the other smaller cables being routed on the right side.
You can see the noise filters in the image above. They are a pain
to deal with since there are so many of them. Ultimately, I taped
them together, with electrical tape, and Velcro mounted them to the
side
of the air box. This made it a lot easier to route the remaining
part of the cables.
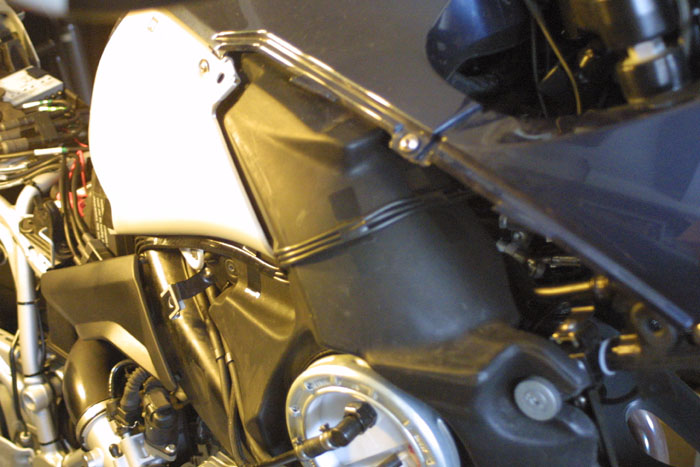
This is much much cleaner and easier to work with.
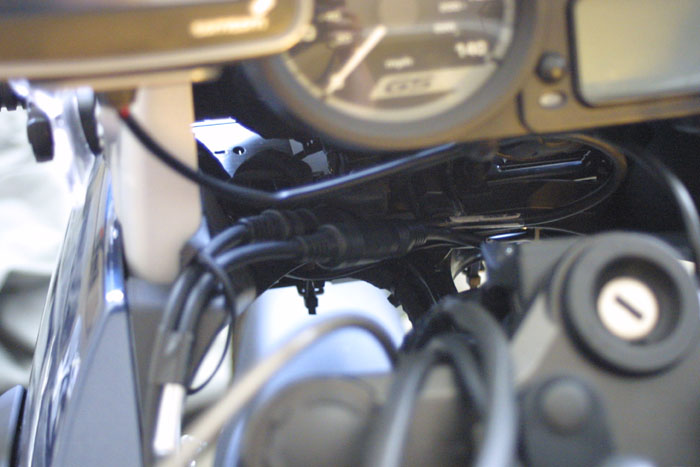
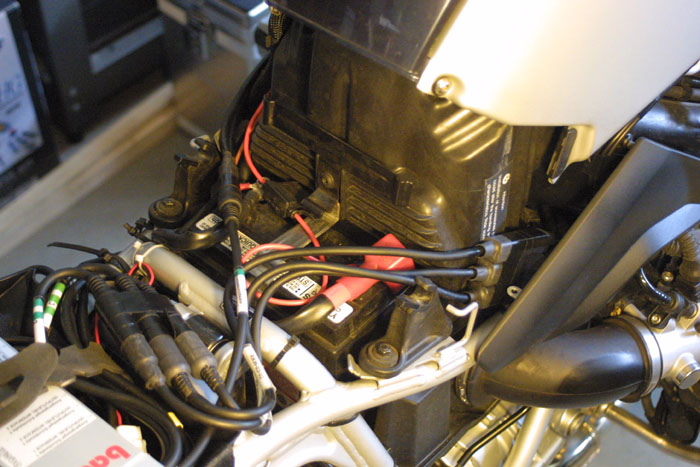
Here is the path I took for the remaining parts of the cell pone,
navigation, and MP3 cables.
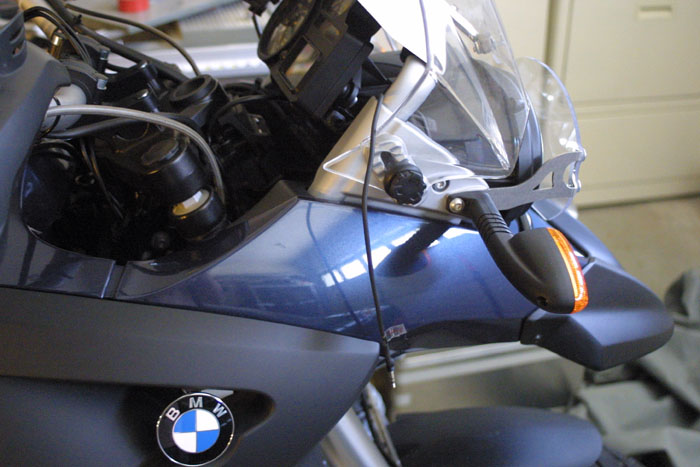
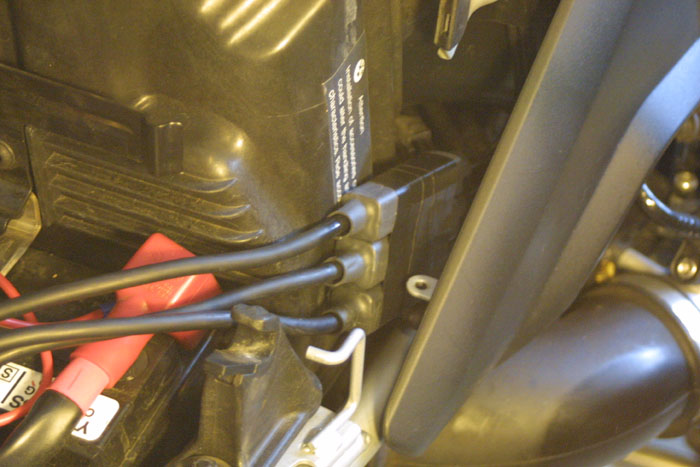
And here is where all the connectors ended up toward the front of the
bike.
This concludes the cabling for the bike. It's now just a matter
of folding this cable here and tucking that cable there. I did do
one thing to verify everything is OK. I started up the bike and
cranked the handle bars to the extreme left and extreme right to make
sure there is nothing getting in the way of the steering, throttle
cable, and clutch cable. Everything was OK. Now it is on to
setting up the helmets.
Baehr Ultima XL installation Part 1 (Preliminary stuff)
Baehr Ultima XL installation Part 3 (Putting
the speakers in the helmet)
Written on: Mar 19, 2006
Last modified: Mar 19, 2006