Baehr Ultima XL installation Part 3
(Putting the speakers in the helmet)

I could have done this first but I decided that putting the intercom on the bike was the first priority.  Installing the speakers on the helmet was actually quite easy.

The first thing to do is to figure out where your ears are relative to the helmet.  Since I had the TomTom helmet mounted speaker, it was easy for me to find where the Baehr speakers should go.  I proceeded to take the cheek right piece out of my Arai XD.


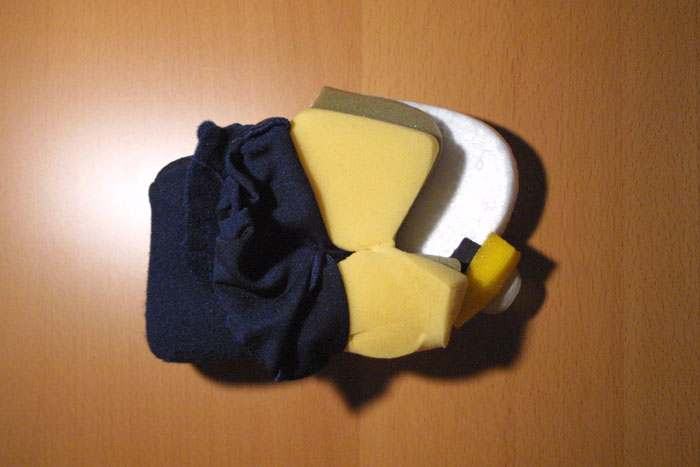
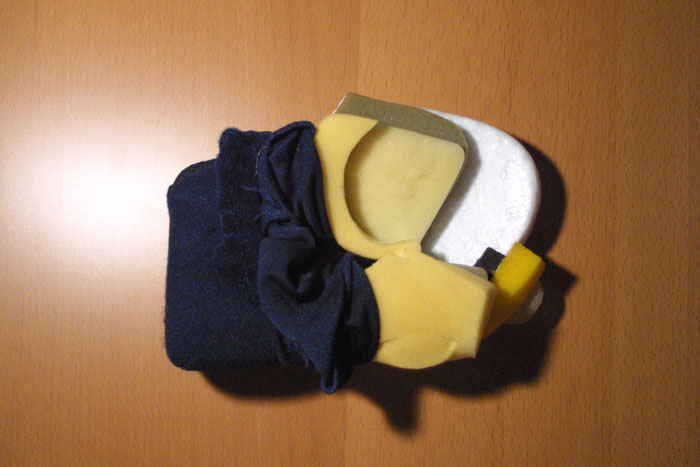
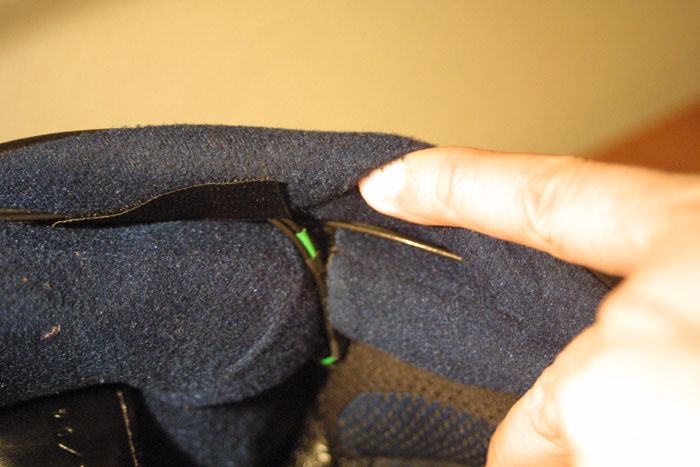
Right cheek foam pad.

I then peeled the banana to reveal the dual layer foam padding under neath.


This is the best spot relative to my ears.

Mark it, chop it, install it, and pad it.


Marked it (note the tool used).


Cut it.


Install it.


Pad it.


Covered it back up.

I guess I'm not very good at following instructions.  The directions told me to us a hot glue gun to install the speakers.  I decided that that method is too conventional for me so I went the Velcro path instead (remember, I'm a Velcro, zip tie, QuickSteel, and 3M double sided tape kind of guy).  In this way, I can remove the speakers if I need to wash the cheek pads again.  So I Velcro-ed the speakers on the magnet part only.  I then put the other part of the Velcro on the cheek pad and ta-da.  Instant speaker installation.  No messy glue to deal with.

I then repeated the steps above for the left side and I'm all speakered out.

Next I routed the wires through the bottom back of the helmet and attached both speakers and mic to the central write.  Since the connection between the speakers, and mics to the main wire doesn't have any type of latching to hold the connections together, I, once again, electrical taped the connections together.

I also use a couple of Velcro pieces to hold the cable back from sliding out of the helmet.


Now I'm all done and ready to rock-n-roll.  When I put the helmet on I don't even notice the speakers are there.  It feels like my regular o' helmet without anything special.  The cable connecting to the intercom system, even though it looks big and bulky, doesn't disturb my head in any way.


I left the intercom at it's default volume setting and everything can be heard loud and clear.  All three of the electronic devices I have work perfectly fine.  Now it's just a matter of waiting for the two-way radio cables to come in to complete the configuration.

In summary, the hardest part of this installation is the decision where to route the cables for the devices.  The intercom system was very easy to install as well as the helmet speakers.  Out of a scale of 1 to 10 I give this installation a 7 for difficulty.  Mostly because it was a pain to try and figure out the best route to get the cables to the front of the bike.  Yes I know, this has nothing to do with installing the intercom system itself.

As for how well the intercom system works, from what I can tell so far (without a ride), it's a 10 out of 10.  Of course you have to put down $1300 to get this super awesome rig.  That's quite a few pennies.  BTW, I still have one universal connector that I'm not even using.  Room to expand if ever.

This concludes everything related with installing the Baehr Ultima XL.  Have a safe ride, and see you out there on the ribbons of tarmac.


Microphone install update [June 28, 2006]

Oop! A little foobar on my part.  I forgot to mention how I installed the microphone.  Dave Daniel was generous enough to send me an email to inform me I forgot something.  Thanks Dave.  So here's what I did.

As you can see from the pictures below, the inside of the Arai XD helmet has a very fuzzy covering.  This is great because it means I can easily mount light weight items inside the helmet using something as handy as Velcro.  Because I'm a Velcro kind of guy, I have both sticky back Velcro and regular sewing Velcro (e.g. without adhesives).  I fashioned two pieces of non-adhesive Velcro (to hold the mic wire in place), and one piece of sticky back Velcro (for the back of the mic).  I then simply place the items and velcro pieces at strategic locations and apply a light amount of pressure.  Wammo Bammo, I'm done with mounting the microphone.  Really easy.


You can see the microphone surounded by foam on the inside of the jaw guard.
(BTW, the XD helmet is a one piece helmet with the exception of the visor and the face shield which can be removed)


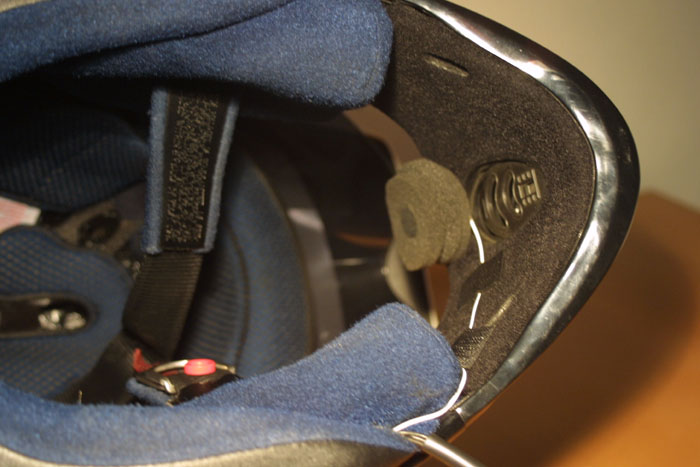
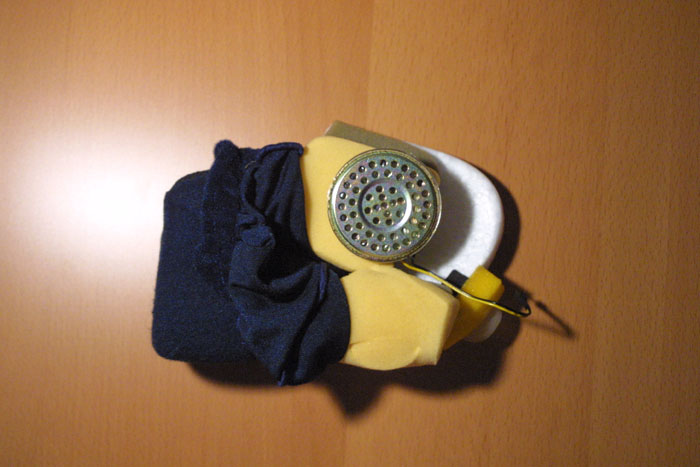
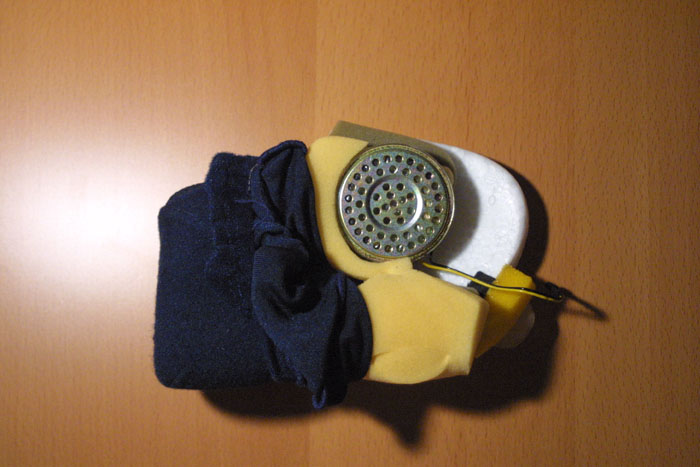
Here's how it looks on the inside.  Notice the mic is above the front vent.


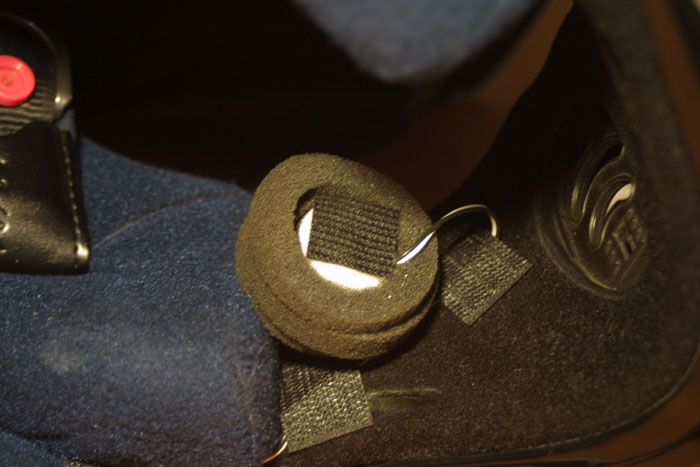
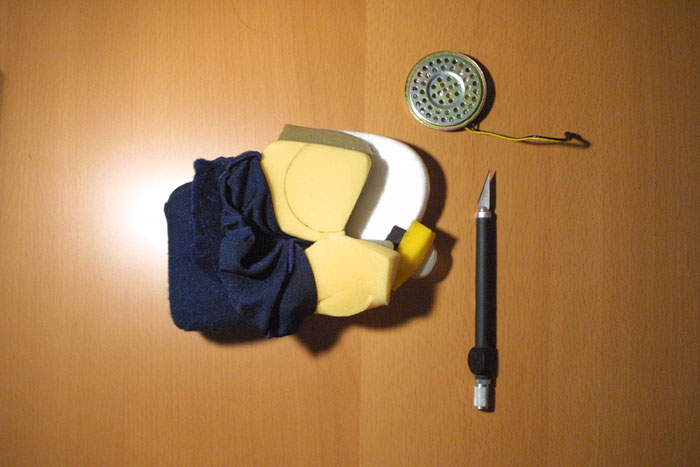
You can see the sticky backed Velcro on the back side of the mic.


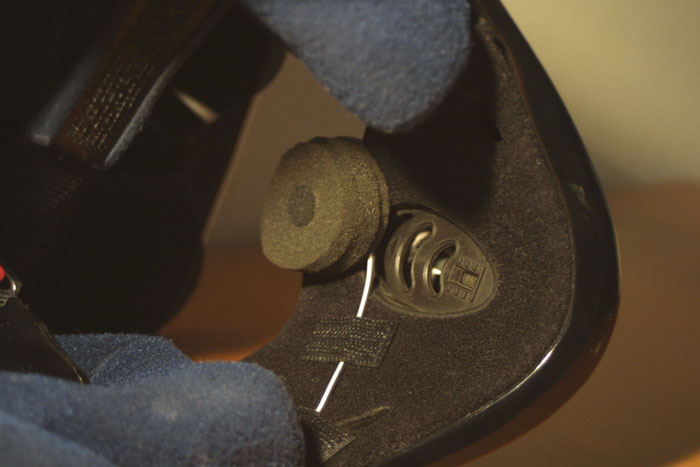
Again, above the front vent.

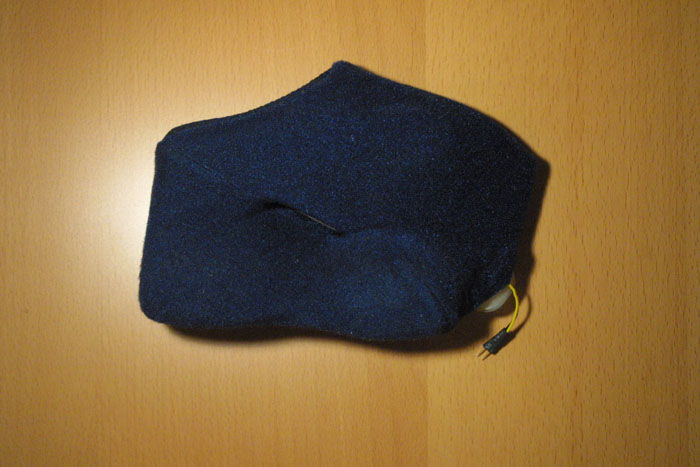
The microphone being mounted above the front vent is more that sufficient to pickup my speach.  To this day, all my friends and family are in awe of the Baehr.  All the people that call my cell phone while I'm riding can't tell that I'm on a motorcycle heading somewhere.  All they hear is my voice and very little background noise.  Of course I try to keep the conversation short when I'm in transit.

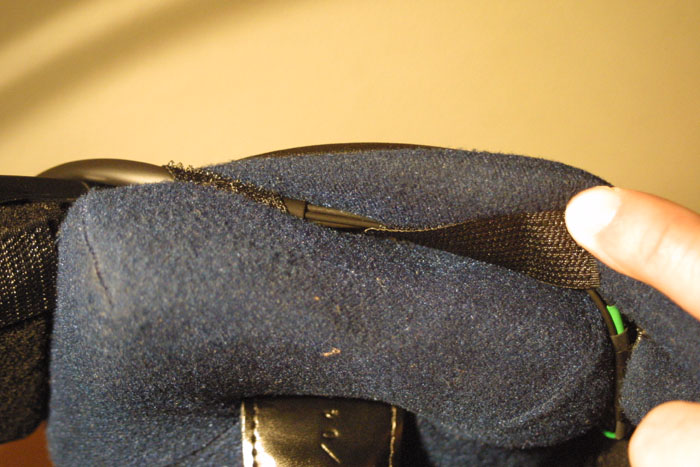
Regarding mounting the microphone using Velcro, ever since the initial installation of the mic in the helmet, never once has it fallen out the helmet on its own.  The only time when it shifts around is because of me doing things like removing it to take a photo of its back side.


Baehr Ultima XL installation Part 1 (Preliminary stuff)
Baehr Ultima XL installation Part 2 (Installing the electronics)


Written on: Mar 19, 2006
Last modified: June 28, 2006